







Are you looking to offer safer and high-quality engineered stone options to your clients? Understanding the process behind silica-free engineered stone can set your business apart.
With years in the engineered stone industry, I know the best methods and materials. My insights will help you understand the benefits of silica-free engineered stone.
Engineered stone without silica offers a safer option for manufacturers and consumers. It maintains the durability and beauty of traditional engineered stone.
In this guide, you’ll discover the step-by-step process of making engineered stone without silica. We’ll cover the alternative materials used and the benefits of choosing silica-free options.
So let’s get started!
Step#1 Raw Material Selection
To begin the process of making engineered stone without silica, it’s essential to choose the right materials. Here are the key steps in selecting these raw materials:
- Identify Alternative Minerals: Instead of silica, manufacturers use minerals like quartz, feldspar, and recycled glass. According to Trolex, the natural stone’s silica content ranged from 3.5% to 30.1%. Highlighting the importance of these materials without any health risks associated with silica.
| Alternative Materials | Reason for Suitability as Silica Alternative |
| Feldspar | Feldspar offers similar durability and aesthetic appeal as silica but without the health risks associated with silica dust, which can cause silicosis. |
| Recycled Glass | Recycled glass is a sustainable choice as it is also less prone to releasing harmful particles that silica produces. |
| Ceramics | Ceramics can be engineered to mimic the look and feel of natural stone while being completely free of silica, offering a safe environment without compromising on quality. |
| Quartz | Although naturally containing some silica, engineered quartz can be processed in a way that minimizes the content, making it safer while still retaining its high-quality. |
| Bio-based Resins | These organic resins provide a completely silica-free binder for engineered stones, significantly reducing health risks while offering excellent binding properties. |
- Assess Quality: Each batch of raw materials is carefully checked for impurities and consistency. Why is this so? To make sure that the final product will be strong and free of defects.
- Source Sustainably: Many companies prefer materials that are locally sourced or recycled. This helps reduce the environmental impact and supports sustainable practices.
- Determine Proportions: The exact mix of materials is crucial for the final product’s performance. Engineers calculate the right proportions to achieve the desired hardness and appearance.
Step#2 Crushing and Blending
With feldspar selected as the raw material, the next is to proceed to the crucial phase of crushing and blending. Here are the key steps in the crushing and blending process:
- Crushing the Feldspar: The chosen feldspar is crushed into small, uniform pieces. This makes sure that it can be easily blended and evenly distributed in the final product.
- Using Industrial Crushers: Large machines called crushers break down the feldspar into finer particles. This step is essential for achieving a smooth and consistent texture in the engineered stone.
- Mixing the Feldspar: The crushed feldspar is then thoroughly mixed to create a homogenous blend. This mixture is what will give the engineered stone its uniform appearance and strength. Amazing, isn’t it?
- Ensuring Consistency: The blended feldspar is checked to make sure it is evenly mixed and free of clumps. Consistent blending is crucial for the quality and durability of the final product.
Step#3 Binding with Resin
Once the feldspar is crushed and blended, the next step is to bind it with resin to create a solid material. Here are the key steps in the binding process:
- Adding the Resin: The blended feldspar is mixed with specially formulated resin. This resin acts as a glue, holding the feldspar particles together.
- Even Distribution: The mixture is carefully stirred to make sure the resin evenly coats all the feldspar particles. This step is crucial to achieve a uniform and strong final product.
- Vacuum Mixing: The resin and feldspar mix is placed in a vacuum chamber to remove any air bubbles. Here’s how it works: it helps in creating a dense and bubble-free engineered stone.
- Setting the Mixture: Once mixed, the resin begins to set and harden. It then starts the transformation from a loose mixture to a solid material. This creates a stable base for engineered stone slabs.
Step#4 Forming the Slabs
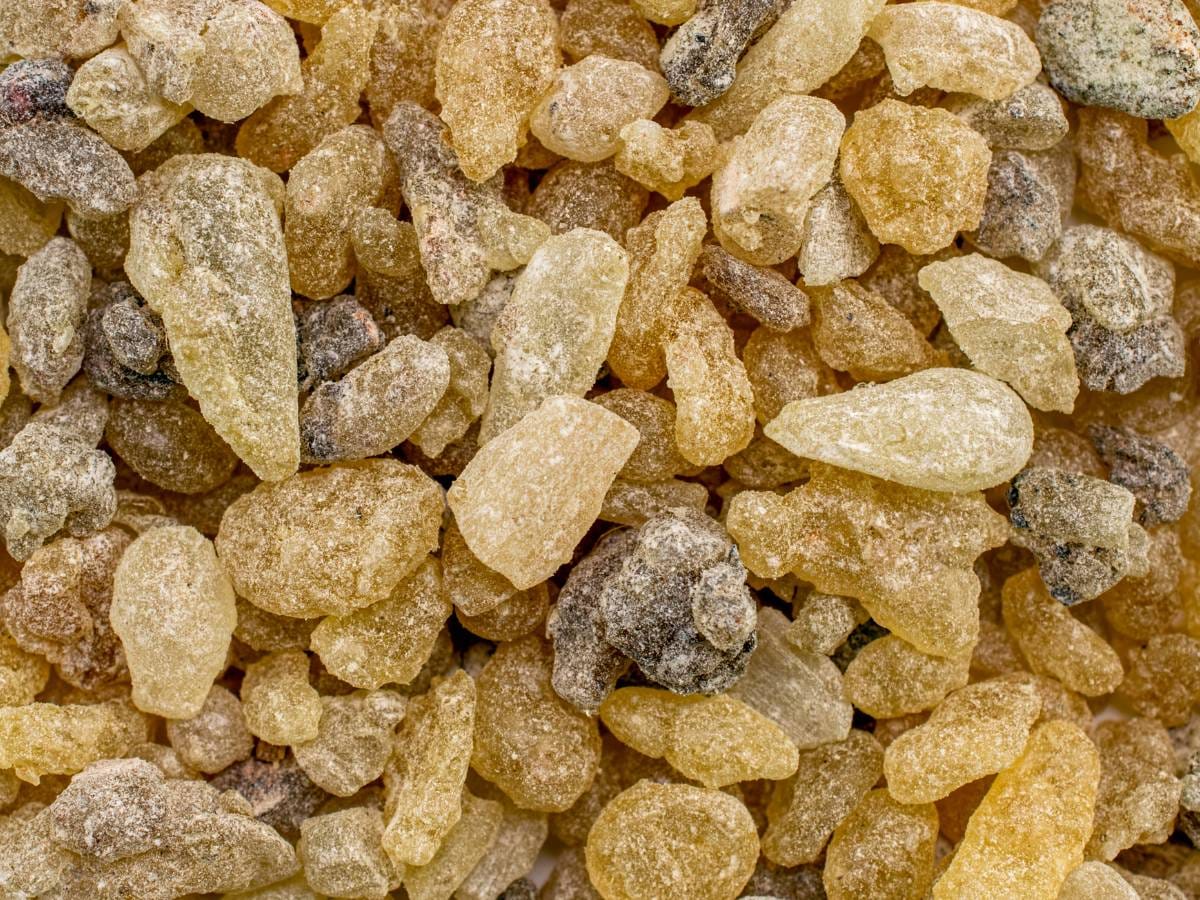
After binding the feldspar with resin, the next step is to form the mixture into slabs. Here are the key steps in the slab-forming process:
- Pouring the Mixture into Molds: The resin-feldspar mixture is poured into large molds. And the best part is that these molds shape the mixture into the desired slab size and thickness.
- Spreading Evenly: The mixture is spread evenly within the mold to avoid any gaps or inconsistencies. This helps in achieving a smooth and uniform surface for the slab.
- Applying Pressure: The filled molds are subjected to high pressure to compact the mixture. This step allows the mixture to be tightly packed, eliminating any remaining air pockets.
- Initial Hardening: The compacted mixture is left to partially harden in the mold. This initial hardening phase is crucial to set the shape of the slab before it moves to the next steps of the process.

Step#5 Curing Process
Once the slabs are formed, they need to go through a curing process to fully harden and gain strength. Here are the key steps in the curing process:
- Placing in a Curing Oven: The partially hardened slabs are placed in a curing oven. And you know what? This oven provides controlled heat to help the resin fully harden and bond with the feldspar.
- Setting the Temperature: The oven is set to a specific temperature for curing the resin. Maintaining the right temperature is crucial to allow the slabs to harden evenly and properly.
- Timing the Cure: The slabs remain in the oven for a predetermined amount of time. This curing period allows the resin to fully set and achieve maximum strength.

Step#6 Cooling and Hardening
After the curing process, the slabs need to cool down and harden completely. Here are the key steps in the cooling and hardening process:
- Gradual Cooling: The slabs are removed from the curing oven and allowed to cool gradually. Here’s the thing: rapid cooling can cause cracks, so this step allows the slabs to remain intact.
- Room Temperature Stabilization: The slabs are kept at room temperature for a period to stabilize. This helps in achieving consistent hardness throughout the slab.
- Final Hardening: As the slabs cool, the resin continues to harden, creating a solid, durable material. This step is crucial for ensuring the strength and longevity of engineered stone.
- Quality Checks: Once cooled, the slabs are inspected for any defects or imperfections. This certifies that only the highest quality slabs proceed to the next stages of production.
Step#7 Surface Finishing
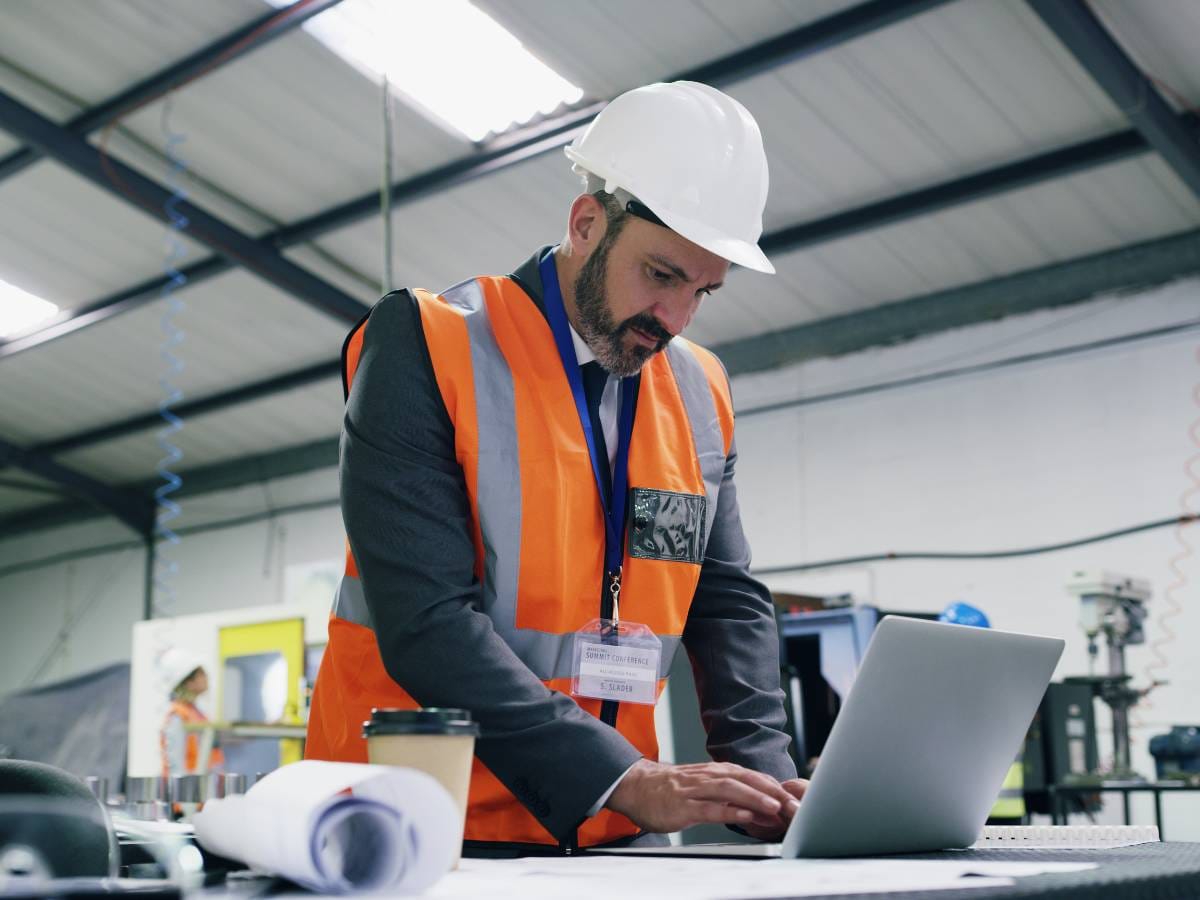
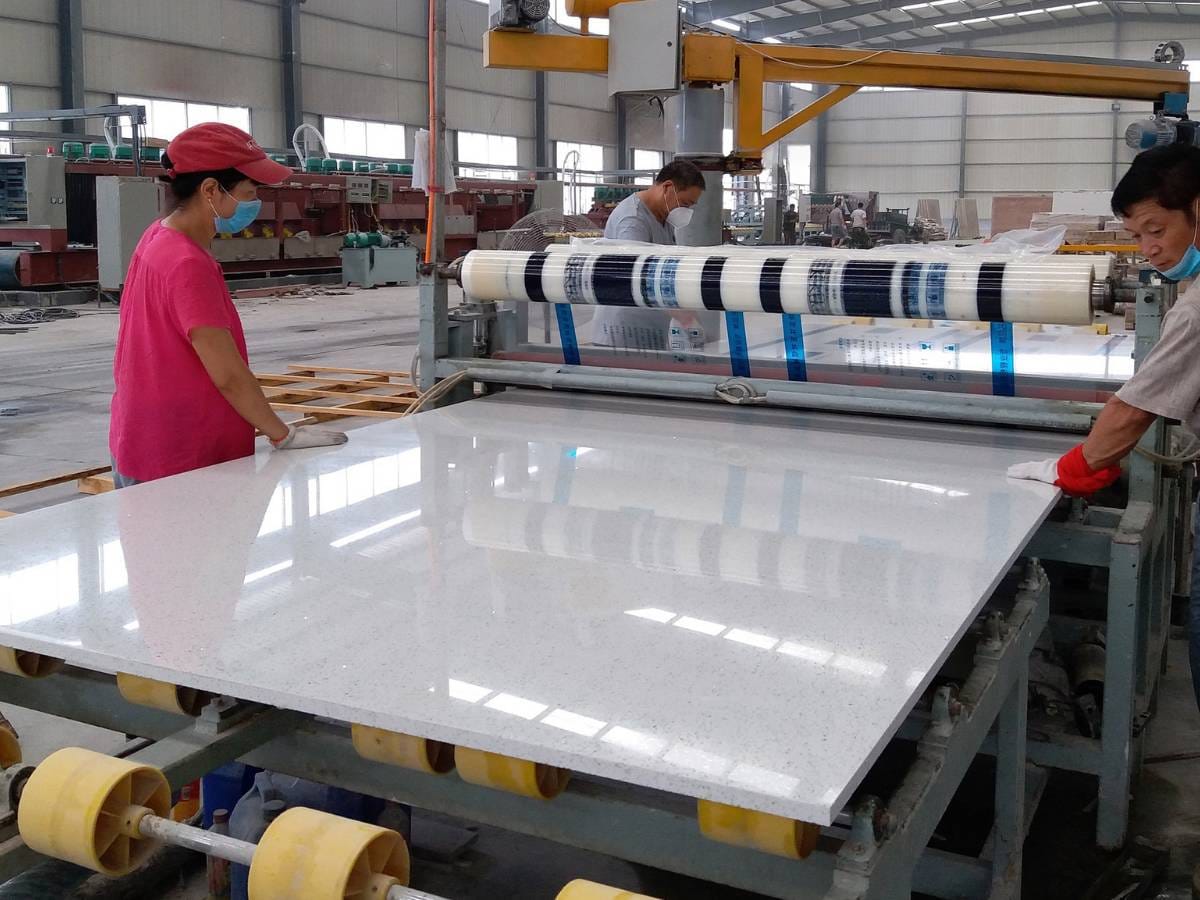
After the slabs have cooled and hardened, the next step is to finish the surface to make it smooth and attractive. Here are the key steps in the surface finishing process:
- Grinding the Surface: The slabs are first ground to remove any rough spots. This step offers a flat and even surface, preparing it for further finishing.
- Polishing the Slabs: The ground slabs are then polished using finer abrasives. In the second place, polishing enhances the appearance and gives the slabs a shiny, smooth finish.
- Sealing the Surface: A sealant is applied to the polished slabs to protect against stains and scratches. This sealant helps maintain the slab’s appearance and extends its lifespan.
- Final Inspection: The finished slabs undergo a final inspection to check for any imperfections. This helps the slab meet quality standards before being shipped to customers.

Step#8 Quality Control
After finishing the surface, it’s crucial to certify that each slab meets high standards of quality. Here are the key steps in the quality control process:
- Visual Inspection: Each slab is visually inspected for any visible defects or imperfections. For example, inspectors look for cracks, uneven surfaces, or color inconsistencies.
- Dimensional Check: The slabs are measured to make sure they meet the required dimensions and thickness. KKR performed accurate measurements to guarantee proper installation and use.
- Strength Testing: Samples from each batch are tested for strength and durability. Likewise, this helps confirm that the slabs can withstand regular use without breaking or chipping.
- Surface Testing: The finished surface is tested for resistance to stains like Mohs hardness test. Ensuring the surface is durable and easy to maintain is key to customer satisfaction.
Step#9 Packaging and Shipping
Once the slabs have passed quality control, the final step is to package and ship them to customers. Here are the key steps in the packaging and shipping process:
- Careful Packaging: Each slab is carefully packaged to prevent damage during transit. For example, slabs are wrapped in protective materials like foam and placed in sturdy crates.
- Labeling the Packages: The packages are labeled with important information such as the slab dimensions and material type. Clear labeling helps allow the correct slabs to reach the right customers.
- Loading for Transport: The packaged slabs are loaded onto trucks or containers for shipping.And then it hit me that proper loading techniques are used to avoid shifting and damage during transport.
- Coordinating Delivery: At KKR logistics are coordinated properly for a timely delivery to customers. This includes scheduling shipments and tracking the delivery progress to meet customer expectations.

Conclusion
Engineered stone without silica is a great option for those looking for safer and eco-friendly surfaces. The process involves carefully selected materials and advanced techniques to secure high quality and durability. This type of stone is ideal for various applications, providing a beautiful and functional solution.
This article explains the benefits and production process of silica-free engineered stone, making it easier to understand its advantages. At KKR, we specialize in creating high-quality surfaces made of silica-free engineered stone. For more information or to explore our products, contact us directly.
Recommended Reading
Looking for more diverse product options? Browse through our handpicked selections:
For some insightful reads, we’ve curated a list of recommended articles just for you:
- Tips for Choosing the Right Solid Surface Material for Your Project
- 10 Types of Synthetic Countertops
- Top 8 Solid Surface Basin Manufacturers
Still haven’t found what you’re looking for? Don’t hesitate to contact us. We’re available around the clock to assist you.