








Creating a high-quality countertop requires more than simply cutting and installing a slab. A professional kitchen countertop fabrication process involves precise planning, material selection, advanced cutting techniques, detailed finishing, and expert installation to achieve durable and visually appealing surfaces.
As an experienced countertop manufacturer and solid surface fabrication specialist, KKR combines advanced manufacturing expertise with customized solutions to produce premium countertops for residential, commercial, and hospitality applications.
The complete countertop fabrication process includes multiple stages, from digital templating and material preparation to CNC cutting, edge finishing, surface polishing, and final quality inspection. Each step ensures accurate dimensions, seamless appearance, and long-lasting performance.
Whether you need custom countertop fabrication for a residential kitchen, commercial project, or large-scale development, KKR provides professional fabrication solutions supported by advanced technology, skilled craftsmanship, and global manufacturing capabilities.
Step #1 Material Selection, Planning & Digital Templating for Kitchen Countertop Fabrication
The first stage of professional kitchen countertop fabrication begins with careful planning, accurate measurements, and selecting the right material for the project. Proper preparation ensures the final countertop achieves the required dimensions, design style, durability, and installation accuracy.
Before starting the countertop fabrication process, manufacturers evaluate different surface materials based on appearance, performance, maintenance requirements, and project needs. Common options include marble, quartz, granite, and solid surface materials. For commercial and custom applications, acrylic solid surface is often preferred because of its seamless appearance, repairability, and design flexibility.
Material Selection Comparison
| Feature | Marble | Quartz | Solid Surface |
| Appearance | Natural patterns with unique veining | Consistent engineered appearance | Seamless designs with flexible customization |
| Durability | Requires careful maintenance due to staining and scratching | Strong surface with high durability | Durable, repairable, and easy to maintain |
| Maintenance | Requires regular sealing | Low maintenance and easy cleaning | Non-porous and hygienic surface |
| Design Flexibility | Limited shaping options | Standardized designs | Supports custom shapes, integrated sinks, and seamless joints |
| Best Applications | Luxury residential projects | Residential and commercial kitchens | Hospitality, healthcare, and custom architectural projects |
- After selecting the material, precise measurements are created through digital templating and CAD layout planning. These measurements define countertop dimensions, sink openings, appliance locations, and edge requirements before fabrication begins.
- At KKR, our professional countertop fabrication services combine accurate planning, advanced technology, and manufacturing expertise to deliver customized surfaces for residential kitchens, commercial spaces, and large-scale projects.
Step #2: Precision Material Cutting & CNC Fabrication for Kitchen Countertops
After selecting the right material, the next stage of kitchen countertop fabrication is precision cutting and shaping the countertop surface. This step determines the accuracy, fit, and final appearance of the finished countertop.
Professional countertop fabrication requires transferring approved measurements onto the selected material before cutting. Fabricators use advanced CAD/CAM technology, digital templates, and precision equipment to ensure accurate dimensions for every project.
Depending on the application, materials such as solid surface, quartz, granite, and marble require different fabrication techniques. For KKR’s solid surface countertops, advanced cutting methods allow manufacturers to create seamless designs, custom shapes, and precise openings for sinks and appliances.
The main cutting process includes:
- Material Preparation: The selected slab or surface sheet is inspected for quality, color consistency, and fabrication requirements before cutting.
- Dimension Marking: Measurements from the digital template are transferred onto the material to define cutting lines, sink locations, and appliance openings.
- Precision Cutting: Advanced CNC cutting machines and professional cutting tools are used to achieve accurate shapes, clean edges, and consistent results.
- Edge Preparation: Cut edges are inspected and prepared for the next fabrication stage, including edge profiling, sanding, and finishing.
Through advanced CNC fabrication technology and quality-controlled processes, KKR delivers custom countertop fabrication solutions for residential kitchens, commercial spaces, and architectural projects.

Step #3: Edge Shaping, Profiling & Smoothing in the Kitchen Countertop Fabrication Process
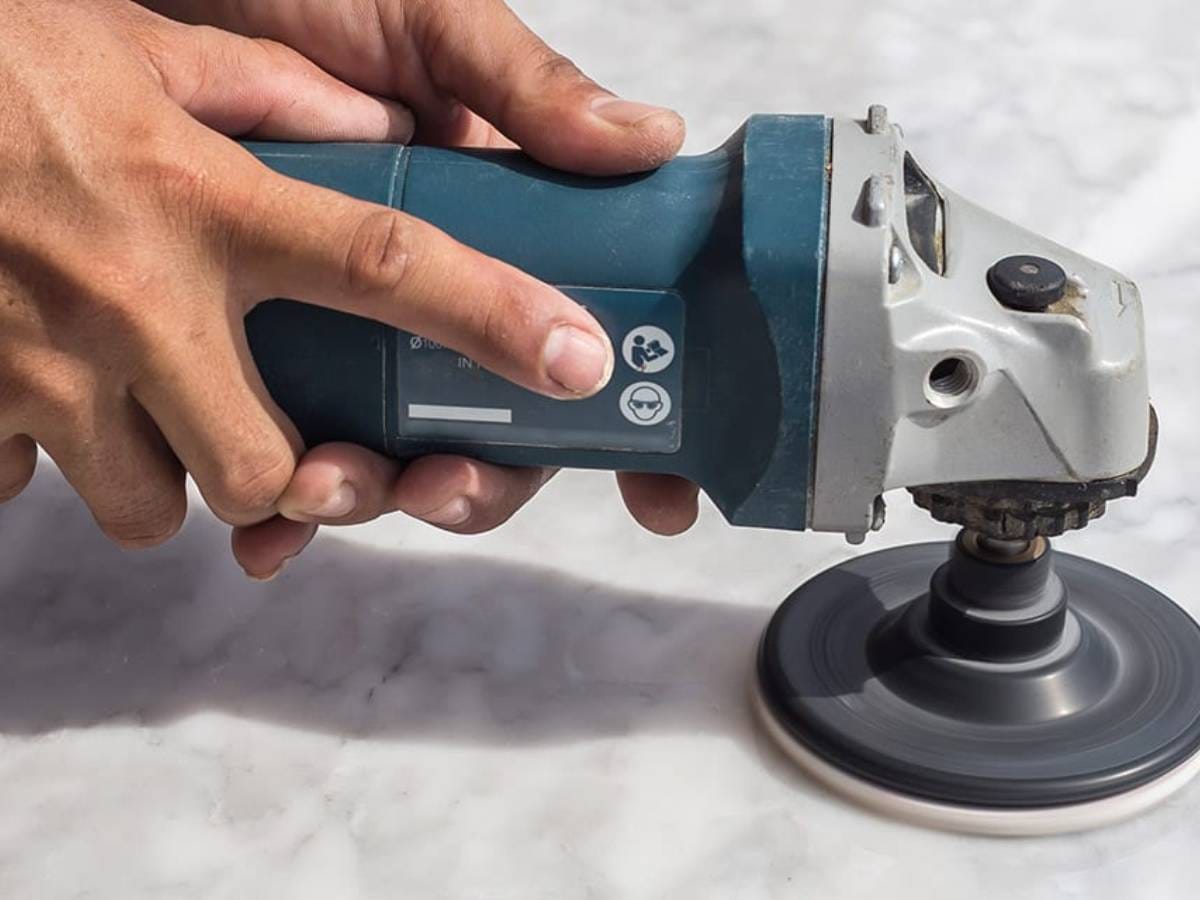
After completing material selection and cutting, the next stage of kitchen countertop fabrication is shaping and smoothing the edges to achieve the desired design, functionality, and finish. Proper edge preparation plays an important role in creating durable and visually appealing countertops.
- Mark Edge Profile: Use accurate measurements to mark the required edge profile on the countertop surface. Different designs, including beveled edges, bullnose edges, and mitered edges, can be created depending on the project requirements and overall design style.
- Shape Edges: Attach the appropriate router bit according to the selected edge design and carefully shape the countertop edges. Professional fabricators use precise tools and techniques to create consistent contours and smooth finishes during the countertop fabrication process.
- Get Sandpaper: Select suitable sanding materials based on the countertop surface and finishing requirements. Proper sanding preparation helps remove imperfections and creates a smooth transition before final polishing.
- Sand Edges: Move the sanding equipment along the edges with consistent pressure to eliminate rough areas. Using progressively finer grits, such as 220 and 320, helps achieve a polished finish with even and refined edges.
For solid surface countertops, precise edge fabrication allows seamless designs, custom profiles, and high-quality finishes suitable for residential, commercial, and hospitality applications.
Step #4: Sink and Cooktop Cutouts for Custom Kitchen Countertop Fabrication
After shaping and smoothing the edges, the next stage of the kitchen countertop fabrication process is creating accurate sink and cooktop cutouts. Precise openings are essential to ensure proper fitting, functionality, and a seamless final installation.
- Mark Cutout Locations: Use approved measurements and digital templates to identify the exact positions of sinks and cooktops on the countertop surface. Accurate marking helps ensure proper alignment with kitchen fixtures and appliances.
- Prepare Drill: Select suitable drilling equipment based on the countertop material being fabricated. Professional fabricators consider material requirements for surfaces such as solid surface, quartz, and stone countertops to achieve clean and accurate openings.
- Drill Starter Holes: Create starter holes at the corners of each marked cutout area. These entry points allow cutting tools to begin the opening process while reducing the risk of material damage.
- Cut Openings: Use precision cutting tools, including CNC cutting equipment or professional saw systems, to create accurate sink and cooktop openings. Proper cutting techniques help achieve smooth edges and prepare the countertop for installation and finishing.
For custom countertop fabrication, accurate sink and cooktop cutouts are critical for achieving seamless results, especially in solid surface countertops where integrated designs and precise fitting are required.
Step #5: Dry Fitting & Precision Adjustments in the Kitchen Countertop Fabrication Process
After completing sink and cooktop cutouts, the next stage of the kitchen countertop fabrication process is dry fitting and making final adjustments before installation. This step ensures the countertop aligns correctly with cabinets, walls, fixtures, and other design elements for a precise final fit.
- Position the Countertop: Carefully place the countertop onto the cabinet framework and align it with all edges, seams, and cutout areas. Proper positioning helps verify measurements created during the templating process and ensures the countertop sits correctly without unnecessary pressure or bending.
- Check Fit: Inspect all edges, corners, seams, and openings to identify any alignment issues. Professional fabricators check dimensions, surface levels, and placement accuracy to ensure the countertop meets project specifications.
- Mark Adjustments: Identify areas requiring minor modifications and mark them accurately before making changes. During custom countertop fabrication, precise adjustments help achieve a seamless appearance and proper installation.
- Trim and Adjust: Use appropriate fabrication tools to refine marked areas and improve the final fit. After adjustments, the countertop is placed again for verification before moving to the installation stage.
At this stage of the countertop fabrication process, accurate dry fitting helps deliver high-quality results for solid surface countertops, residential kitchens, commercial spaces, and hospitality projects.
Step #6: Professional Countertop Installation After the Kitchen Countertop Fabrication Process
After completing dry fitting and final adjustments, the next stage of the kitchen countertop fabrication process is professional installation. Proper installation ensures the countertop is securely positioned, correctly aligned, and ready for final finishing.
- Prepare Clamps: Gather the required installation tools and clamps before placing the countertop. Proper preparation helps maintain stability and ensures accurate positioning during the installation process.
- Place Countertop: Carefully position the countertop onto the cabinets using the approved layout and measurements. Align all edges, seams, and cutout areas properly to achieve a precise fit and seamless appearance.
- Secure Countertop: Apply suitable adhesives and use clamps to secure the countertop in place while the bonding material cures. Professional installation techniques help prevent movement and maintain long-term durability.
- Check Alignment: Inspect the countertop alignment, surface level, seams, and fixture openings before completing the installation. Final adjustments ensure the countertop meets quality standards and project requirements.
For custom countertop fabrication, professional installation is essential to achieve durable and visually appealing results, especially for solid surface countertops with seamless designs and integrated features.
Step #7: Finishing, Sealing & Surface Polishing in the Kitchen Countertop Fabrication Process
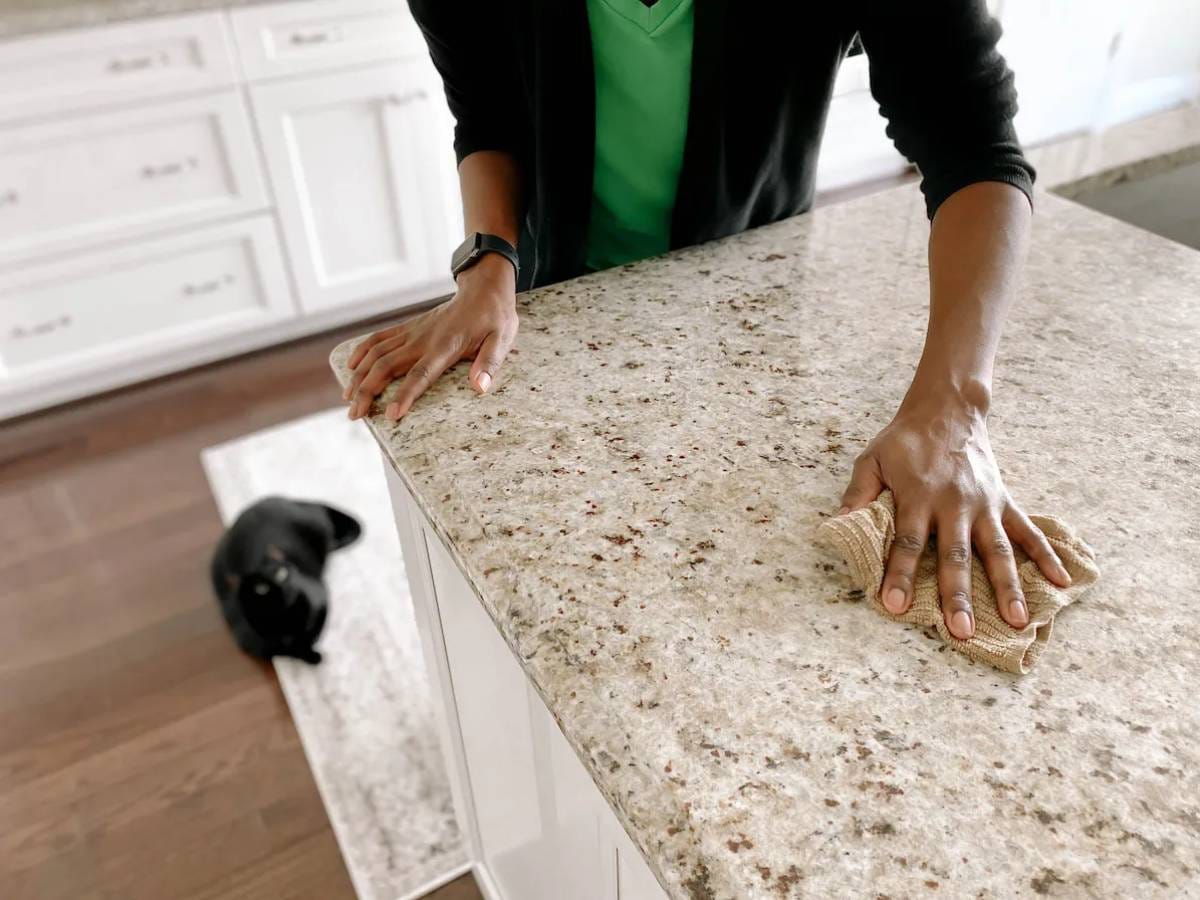
After installing the countertop, the next stage of the kitchen countertop fabrication process is completing the final finishing touches, sealing, and surface preparation. These final steps improve durability, appearance, and long-term performance of the finished countertop.
- Clean Surface: Carefully clean the countertop surface to remove dust, debris, and fabrication residue before applying finishing materials. A clean surface ensures better adhesion and a smoother final result.
- Apply Sealant: Apply suitable sealant along countertop edges, wall connections, and backsplash areas to protect against moisture and improve durability. Proper sealing is especially important for commercial countertops and high-use environments.
- Check for Gaps: Inspect all seams, edges, and connection points to identify any gaps or uneven areas. Professional fabricators ensure proper sealing and finishing to achieve a clean and seamless appearance.
- Polish Surface: Use appropriate polishing techniques based on the countertop material to enhance the final finish. For solid surface countertops, polishing helps restore smoothness, maintain appearance, and support easy maintenance.
Through precise surface finishing, sealing techniques, and quality control, KKR delivers custom countertop fabrication solutions designed for residential, commercial, and hospitality applications.
Conclusion
Mastering the process of making kitchen countertops is key to achieving a high-quality finish and enhancing a kitchen’s functionality and style. By understanding the right materials, techniques, and design principles, one can create countertops that are both durable and visually appealing, perfectly complementing the overall kitchen aesthetic.
In conclusion, this step-by-step guide has provided with a comprehensive overview of kitchen countertop fabrication, from initial planning and material selection to precise cutting and final installation. If you are looking for a range selection of solid surface countertops, please contact KKR today!
Recommended Reading
Looking for more diverse product options? Browse through our handpicked selections:
Still haven’t found what you’re looking for? Don’t hesitate to contact us. We’re available around the clock to assist you.