








Ever wondered how solid surface countertops get their seamless look? It’s all about the intricate process of solid surface fabrication.
As a seasoned solid surface expert, I can guide you through the details with confidence and clarity. With years of experience, I have seen firsthand the impact of quality fabrication on the final product.
The solid surface fabrication process is both an art and a science. It requires precision, expertise, and a deep understanding of materials.
In this guide, you’ll discover the seven essential steps involved in fabricating solid surfaces, from material selection to final polishing.
So, let’s dive in!
Step#1 Material Selection
Selecting the right material is the foundation of a successful solid surface project. It’s crucial to choose materials that meet both aesthetic and functional requirements. Here are the key factors to consider:
- Durability: Opt for materials that offer high resistance to wear and tear. As a matter of fact, durability ensures the surface can withstand daily use and maintain its appearance over time.
- Color and Pattern Consistency: Guarantee that the material provides consistent color and pattern throughout the surface. This uniformity is essential for achieving a seamless and professional look.
- Chemical Resistance: Choose materials that are resistant to chemicals and stains. This quality is particularly important for surfaces exposed to harsh cleaning agents or potential spills.
- Thermoformability: Evaluate the material’s ability to be thermoformed without losing its structural integrity. This property allows for creative and complex designs in the final product.

Step#2 Mixing and Casting
The mixing and casting stage is crucial in forming the solid surface material. It involves combining raw materials to create a homogeneous mixture, which is then cast into molds to shape the surface. Here are the steps involved:
- Accurate Measurement: Begin by accurately measuring the resin, fillers, and pigments according to the specific formulation. Use precise scales and measuring tools to make sure each component is in the correct proportion.
- Thorough Mixing: Pour the measured components into a mixing vessel. Use a high-shear mixer to blend the materials thoroughly, making sure of a uniform distribution of pigments and fillers. Additionally, this step is critical to achieving a consistent color and texture in the final product.
- Controlled Casting: Once the mixture is homogeneous, carefully pour it into pre-prepared molds. Use tools to spread the mixture evenly and eliminate air bubbles. The molds should be designed to match the desired shape and dimensions of the final surface.
- Curing: After the mixture is cast, it must cure to harden and set. Place the filled molds in a controlled environment to cure for the specified time. The curing process solidifies the material, making sure it reaches the required strength and durability.
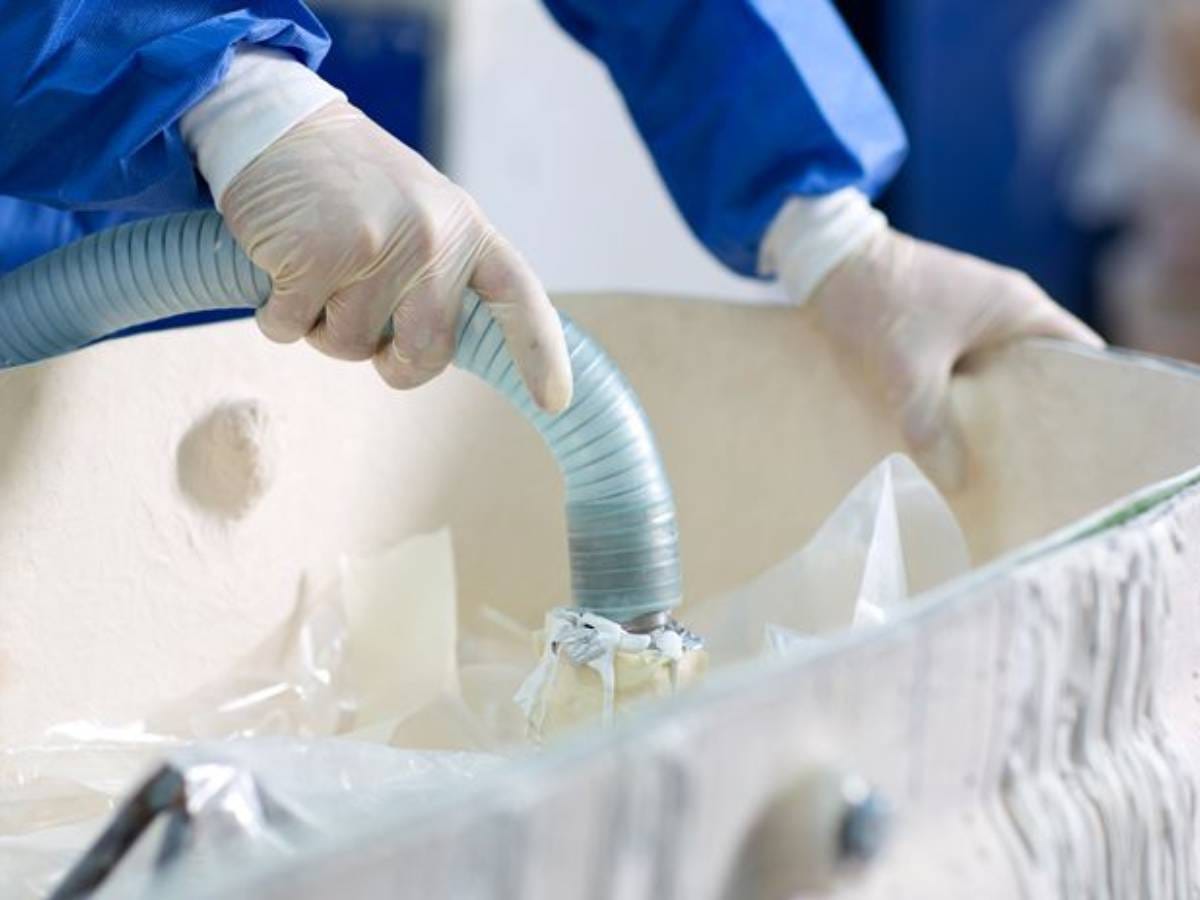
Step#3 Molding and Shaping
Molding and shaping are critical to defining the final form and details of the solid surface. This step transforms the cast material into precise shapes and designs. Here are the essential steps in this process:
- Preparing the Molds: Begin by making sure that the molds are clean and properly prepared. Apply a mold release agent to facilitate easy removal of the solid surface once it sets. Proper mold preparation prevents defects and guarantees a smooth finish.
- Pouring into Molds: Pour the mixed and cast material into the prepared molds. Use tools to spread the material evenly and make sure it fills all corners and intricate details of the mold. On top of that, this step is vital for achieving accurate and detailed shapes.
- Applying Pressure: Apply pressure to the material in the molds using a press or clamps. This helps to eliminate air bubbles and guarantees the material conforms precisely to the mold’s shape. Consistent pressure is crucial for maintaining the integrity and strength of the final product.
- Demolding: Once the material has cured and set, carefully remove it from the molds. Use appropriate tools to avoid damaging the surface. Demolding must be done with precision to maintain the shape and detail achieved during molding and shaping.
Step#4 Sanding and Finishing
Sanding and finishing are essential steps to make sure the solid surface achieves a smooth, polished, and professional appearance. This process enhances the aesthetic and tactile qualities of the material. Here are the steps involved:
- Initial Sanding: Begin with coarse-grit sandpaper to remove any rough edges, surface imperfections, and excess material. Use a sanding machine for larger surfaces or hand sanders for detailed areas. This step prepares the surface for finer sanding.
- Progressive Sanding: Gradually move to finer grits of sandpaper, sanding the surface in stages. Kingkonree suggests that this progressive approach guarantees a smooth transition from a rough to a polished finish.
- Buffing: After sanding, use a buffing machine with appropriate pads and compounds to polish the surface. Buffing enhances the gloss and luster, giving the solid surface a sleek and reflective appearance. I know you will agree that this step is crucial for achieving a high-quality finish.
- Inspection and Touch-up: Conduct a thorough inspection of the sanded and polished surface to identify any remaining imperfections. For instance, perform touch-ups as necessary, using fine sandpaper or polishing compounds to address minor flaws.

Step#5 Cutting and Joining
Cutting and joining are pivotal in customizing the solid surface to fit specific project requirements and creating seamless, durable installations. Here’s how the process unfolds:
- Precision Cutting: Use specialized cutting tools, such as CNC routers or circular saws, to cut the solid surface material to the desired dimensions. Establish accurate measurements and smooth, clean cuts to avoid chipping or uneven edges. Precision in this step is essential for a perfect fit during installation.
- Edge Profiling: After cutting, shape the edges of the material using routers with various bits to achieve the desired edge profile. Please take note that whether it’s a simple square edge or an intricate ogee, proper edge profiling adds to the aesthetic appeal and functionality of the solid surface.
- Joining Techniques: Apply adhesive specifically designed for solid surfaces to join pieces together. Make sure the adhesive is evenly spread and the pieces are properly aligned. Use clamps or vacuum presses to hold the joints in place until the adhesive cures. This creates a seamless, strong bond between the pieces.
Step#6 Thermoforming
Thermoforming allows for the creation of curved and intricate designs by heating and shaping the solid surface material. This process enables greater design flexibility and customization. Here are the steps involved:
- Heating: Begin by heating the solid surface material in a specialized oven to its optimal thermoforming temperature. According to Sunmine Global, this temperature typically ranges between 150°F to 300°F, depending on the specific material used. Heating makes the material pliable and ready for shaping.
- Molding: Once heated, carefully transfer the pliable material onto a pre-designed mold. Use vacuum forming or pressure techniques to guarantee the material conforms accurately to the mold’s shape. Similarly, this step is crucial for achieving the desired curves and intricate designs.
- Cooling: Allow the formed material to cool while it remains on the mold. Cooling solidifies the shape, making sure the material retains its new form. The cooling process must be controlled to prevent warping or other defects.
Below is a table that provides an overview of the cooling process in material forming, detailing essential aspects and considerations for ensuring the material retains its desired shape without defects:
| Aspect | Description | Considerations |
| Cooling Medium | The substance used to reduce the temperature of the material. | Common mediums include water, air, or specialized coolants. |
| Cooling Time | The duration for which the material is cooled. | Must be optimized to ensure thorough solidification. |
| Temperature Control | Precise regulation of the cooling temperature. | Essential to prevent thermal shock and ensure uniform cooling. |
| Monitoring | Continuous observation of the cooling process. | Necessary to adjust parameters in real-time to avoid defects. |
| Cooling Equipment | Tools and systems used to cool the material. | Must be reliable and capable of handling the specific material and shape requirements. |
Step#7 Final Inspection and Quality Assurance
The final inspection and quality assurance step establishes that the solid surface meets the highest standards of quality and performance before it is delivered or installed. Here are the key elements of this process:
- Visual Inspection: Conduct a thorough visual examination of the solid surface to identify any surface defects, such as scratches, chips, or inconsistencies in color and texture. The best part is that this step guarantees the surface meets aesthetic requirements.
- Dimensional Verification: Measure the final product to verify that it meets the specified dimensions and tolerances. Accurate dimensions are critical for establishing a proper fit during installation and avoiding any issues on-site.
- Performance Testing: Perform tests to assess the material’s performance characteristics, such as its strength, durability, and resistance to chemicals and stains. At Kingkongree, these tests confirm that the solid surface will perform reliably in its intended application.
- Documentation and Certification: Document the results of the inspection and tests, and provide certification of quality assurance. For instance, this documentation serves as a record of compliance with quality standards and reassures clients of the product’s reliability and excellence.

Conclusion
Understanding the solid surface fabrication process helps you appreciate the craftsmanship behind every piece. From material selection to final inspection, each step is crucial for achieving top-notch quality. By understanding these steps, you can ensure your projects meet the highest standards.
We hope this guide clarifies the steps involved in creating exceptional solid surfaces. At Kingkonree we offer high-quality solid surface solutions tailored to meet your specific needs. For expert advice and top-quality products, contact us today!
Related Resources You May Be Interested In
Looking for more diverse product options? Browse through our handpicked selections:
Still haven’t found what you’re looking for? Don’t hesitate to contact us. We’re available around the clock to assist you.