








Fitting a countertop is an essential element for any kitchen or bathroom installation. The material should fit snugly, be level, and provide adequate support at seams, cutouts, and overhangs. Even the smallest error in measuring and cutting can impact the end result and installation process.
The simple method is to measure the space, set up the cabinets, cut the material, make cutouts, assemble pieces as necessary, install the countertop, and sand the finished surface.
This guide is a step-by-step explanation for the installation of solid surface countertops for those planning a project.
What Is a Solid Surface Countertop?
A solid surface countertop is a type of manufactured surface with an acrylic or polyester base that uses mineral fillers. The material is uniform in nature and may be cut and fabricated from end to end. This makes it ideal for countertops, vanity tops, sinks, and custom applications.
Solid surface countertops can be connected with color-matched adhesive, whereas materials that need grout lines cannot. If fabricated and finished properly, the seam can be hard to detect.
Another benefit is design flexibility. The edge profile, shape, and configuration of solid surface can be varied depending on the required size. For instance, KKR provides solid surface countertops in kitchens, bathrooms, commercial, and custom applications.
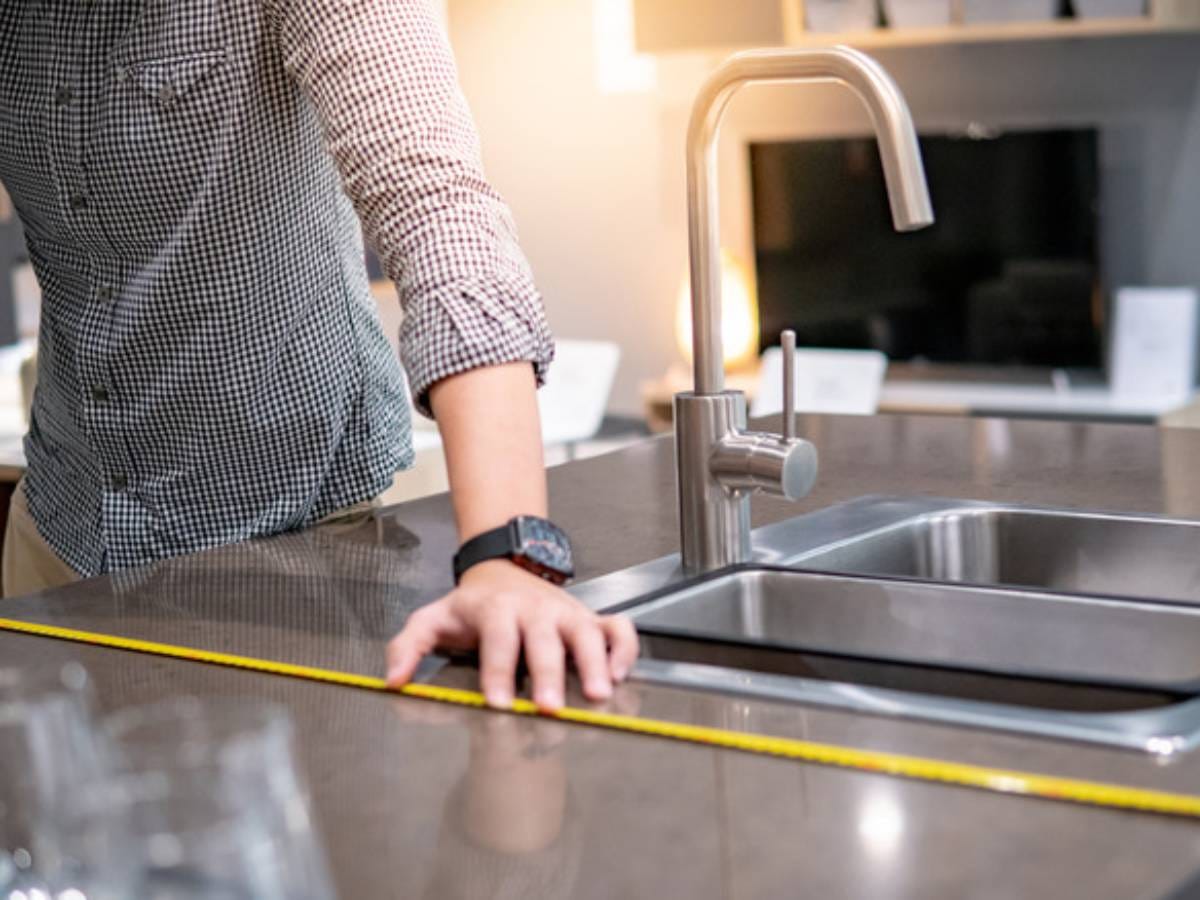
What You Need Before Installing Solid Surface Countertops
Prepare the right tools and supplies. The exact requirements depend on the countertop design and manufacturer’s instructions.
Common tools include:
- Measuring tape
- Straight edge or guide fence
- Circular saw with a suitable carbide blade
- Router
- Router bits
- Random orbital sander
- Sandpaper and abrasive pads
- Bar or spring clamps
- Hot-melt glue gun
- Adhesive dispensing gun
- Color-matched solid surface adhesive
- Silicone sealant
- Vacuum or dust collection equipment
- Denatured alcohol and clean cloths
A router can be used to trim edges, create profiles, and make accurate cuts. The final surface finish is often accomplished with a random orbital sander.
Always follow the fabrication and installation directions provided with the specific material.
Step 1: Measure the Cabinets and Create a Template
When installing solid surface countertop material, the first step is to measure accurately. Ensure that cabinets are level and secure. Take measurements of each section, including walls, corners, sinks, cooktops, appliances, and openings. Develop a template for complex layouts to increase accuracy.
Step 2: Check the Support Structure
Prior to installation, check that the cabinets offer sufficient support. Cabinet tops should be level and secure. Extra support may be required under overhangs, islands, and under larger areas. When used properly, it prevents movement and will help protect the countertop from damage.
Step 3: Cut the Solid Surface Material
Move the measurement or template to the solid surface sheet. Use a suitable circular saw to make rough cuts and use a router to finish the cuts. Hold the paper securely when cutting. Measure openings for sinks and appliances carefully and use rounded inside corners when needed.
Step 4: Prepare the Edges
Once cut, trim and smooth the edges of the countertop with a router. Choose an edge profile based on design, including square, eased, or rounded. Use compatible solid surface strips under the edge for a thicker edge. Always dry-fit pieces first to check alignment and gaps.
Step 5: Create and Prepare the Seams
If the countertop is large or L-shaped, it might need to be cut into several pieces. Dry fit to ensure even edges. Wipe clean the bonding surfaces, follow the instructions, and glue with the same colored glue. Use clamping blocks and clamps to hold the sections together while the adhesive sets.
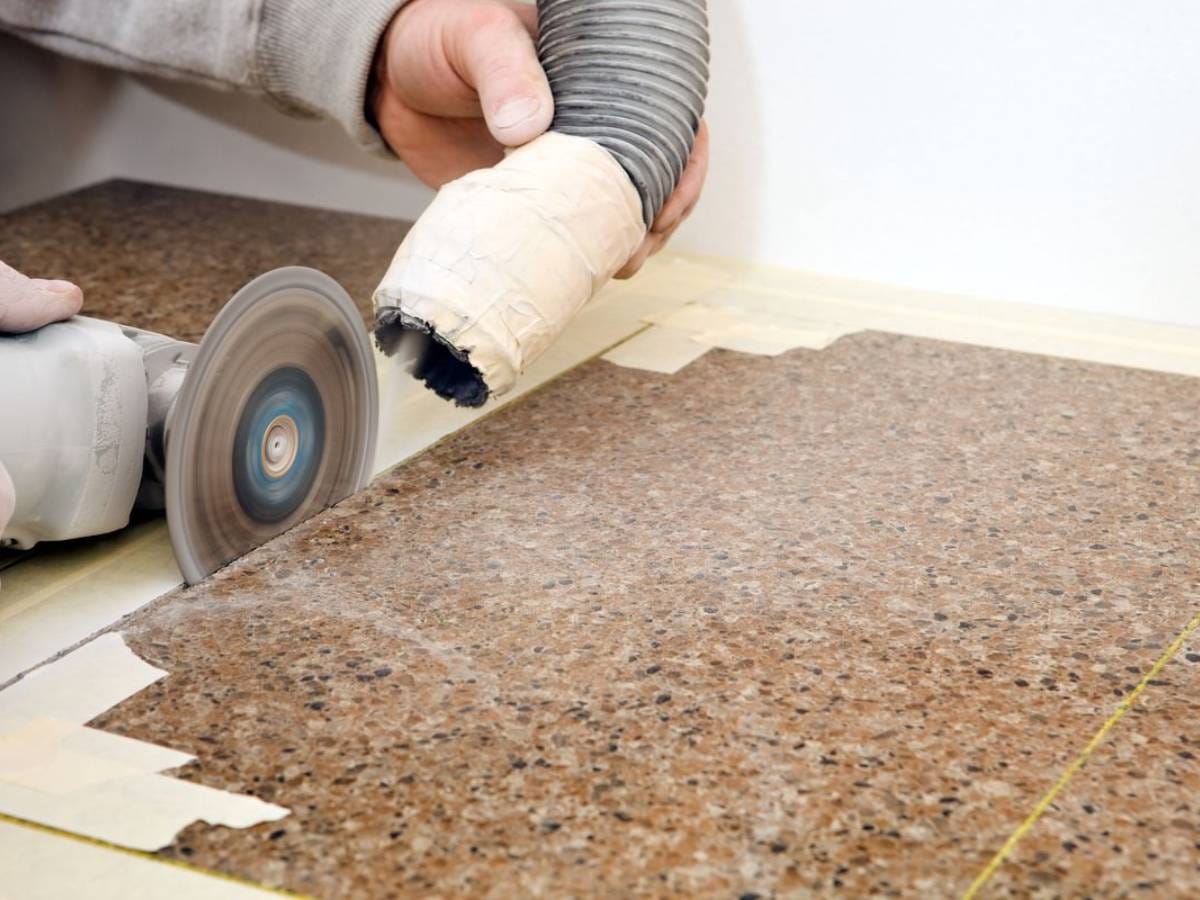
Step 6: Sand the Seam
Once the adhesive has set, you can take off the clamps and the glue that was spilled. Begin sanding the seam at an appropriate coarse grit and work to a finer grit. Keep the sander moving across the surface. Repeat until a smooth seam is formed and it matches the material of the countertop.
Step 7: Position the Countertop
Place the countertop on the cabinets before securing it permanently. Check that it sits level and that edges, seams, sink openings, and appliance cutouts are correctly positioned. Also confirm consistent overhangs and sufficient wall clearance. A final dry fit helps identify problems early.
Step 8: Secure the Countertop to the Cabinets
Secure the countertop according to the manufacturer’s installation instructions. Solid surface countertops generally need some allowance for normal movement. Silicone may be applied in spaced areas to attach the countertop to supporting surfaces. Avoid rigid fastening methods unless specifically approved by the manufacturer.
Step 9: Install the Sink and Fixtures
Sink installation depends on the countertop and sink design. For an undermount sink, prepare the bonding surfaces, clean them, apply the recommended adhesive, and clamp the sink while it cures. Integrated sinks can provide a seamless appearance. Install faucets and connect plumbing as directed.
Step 10: Complete the Final Sanding and Finish
The last stage of solid surface countertops installation is finishing.
Inspect the surface for:
- Scratches
- Uneven areas
- Visible adhesive
- Seam lines
- Rough edges
- Sanding marks
The final finish will vary based on the finish of the material, color, and the recommendations of the manufacturer. A matte or satin finish may require a different abrasive sequence from a higher-gloss finish.
Common Mistakes to Avoid During Solid Surface Countertop Installation
Knowing how to install solid surface countertops can make a difference, but a few mistakes can impact the outcome.
Skipping the Template
If the measurements are not accurate, the wall may not fit properly, the cut-outs may be wrong, and the overhangs may be uneven. When there is a difficult layout with several openings or corners, a template should be used.
Placing Seams in High-Stress Areas
Do not place seams near sinks, cooktops, or any difficult corners. Draw a plan of the layout before cutting the sheets.
Using the Wrong Adhesive
Be sure to use an appropriate adhesive for the particular solid surface material. Matching colours is also essential if you wish the joint to be invisible.
Over-Tightening Clamps
More pressure does not necessarily create a stronger seam. Clamping excessively can cause problems rather than a solution.
Ignoring Cabinet Level
You can’t fix bad cabinets with a great countertop. Verify the support system prior to installation of material.
Skipping Final Sanding
Installation is not complete until the pieces are glued together. Quality sanding and finishing are required to achieve uniformity.
DIY Installation or Professional Installer?
Whether you should handle the project yourself depends on the complexity of the countertop.
A simple straight countertop with minimal cutouts may be manageable for an experienced DIYer with suitable woodworking tools. More complex designs, such as more seams, larger cut-out holes, curved ends, built-in sinks, and custom-made designs, need more expertise.
A professional countertop installer for solid surface countertop materials can also assist with templating, fabrication, and placement of seams, edge finishing, and installation.
If you’re looking for more uniformity among multiple countertops in a commercial, hospitality, or large residence project, then professional fabrication can help.
| Also Read: How To Install Solid Surface Countertops |
How to Choose Solid Surface Countertop Brands
Don’t just look at the color and the price when identifying the brands of solid surface countertops. Look at material specifics, dimensions of the available sheets, thicknesses, bonding methods, guidelines for manufacturing, warranty, and how to install the material.
It is also important to see if the manufacturer offers technical support and if similar adhesives and repair materials are easily obtained.
For projects that require custom sizes or integrated sinks, working directly with a manufacturer can provide additional flexibility. KKR has solid surface countertops in various applications and can provide custom cut sizes.
How Much Does Solid Surface Countertop Installation Cost?
The average cost to install solid surface countertops ranges from $50 to $150 per square foot for materials and labor. Several factors are associated with the cost of solid surface countertops when installed: material, countertop size, thickness, edge profile, number of seams, sink cutouts, backsplash, labor, location of installation, and complexity of the project.
Installing a simple countertop will likely be costlier than a multi-seam countertop, a curved-edge countertop, or a countertop that has an integrated sink.
For an accurate estimate, measure the project and ask the supplier or installer to provide a quote based on the exact specifications.
Install Solid Surface Countertops With the Right Preparation
A successful solid surface countertop installation starts well before the countertop reaches the cabinets. The result is the outcome of accurate measurements, a good template, cabinet support, precise cutting, correct seam positioning, a suitable adhesive, and thorough finishing.
When clean lines, seamless joints, custom dimensions, or integrated sinks are needed, solid surface is very useful. KKR offers solid surface countertops for kitchen, bath, and commercial use, including custom-made countertops for projects that have unique design needs.
Custom fabrication can make it easier to make a countertop fit a space it is going into, rather than having to fit a space to a countertop, for projects where standard sizes are not sufficient. It is important to adhere to the material manufacturer’s instructions at all stages of manufacture and installation.
Contact KKR Stone to discuss your project requirements and explore customized solid surface countertop solutions for your kitchen, bathroom, or commercial space.
FAQs
- What is the average cost of solid surface countertops installed?
The cost of installation of solid surface countertops ranges from $50 to $150 per square foot. However, it is calculated as a variable and cannot be quoted individually due to various factors, including material type, size, labor, edge treatment, cutouts, seams, and location. A simple installation would typically be more affordable than a custom countertop with intricate fabrication.
- What are solid surface countertops?
Solid surface countertops are manufactured surfaces made from resin and mineral fillers. They do not absorb water and can be made into countertops, vanity tops, sinks, and other surfaces. Their ability to be cut and joined makes them suitable for customized designs.
- Can I install solid surface countertops myself?
Yes, a simple project may be suitable for an experienced DIYer with the right tools and fabrication skills. But in complicated seams, sink cutouts, curved sections, and custom edges, precision is required.
- How are solid surface countertops joined?
A typical seam between two sections is created by using a manufacturer-recommended, color-matched adhesive. The pieces are dry-fitted, cleaned, bonded, and clamped during the adhesive cures. The excess glue is trimmed off, and the seam is gradually sanded so it fits into the surrounding surface.
Recommended Reading
For some insightful reads, we’ve curated a list of recommended articles just for you:
Still haven’t found what you’re looking for? Don’t hesitate to contact us. We’re available around the clock to assist you.