








Ever wondered how to install solid surface countertops with ease? The process is simpler with the right guidance.
With extensive experience in the countertop industry, I can offer clear and practical steps to help master the fabrication process.
Installing solid surface countertops involves careful planning and execution. This process is crucial for achieving a durable finish that enhances the aesthetics and functionality of any space.
In this guide, we’ll cover the 8 essential steps for installing solid surface countertops, from measuring the space up to final touches. We’ll see how each step helps create perfect results.
Let’s jump in!
Step#1 Measure the Space
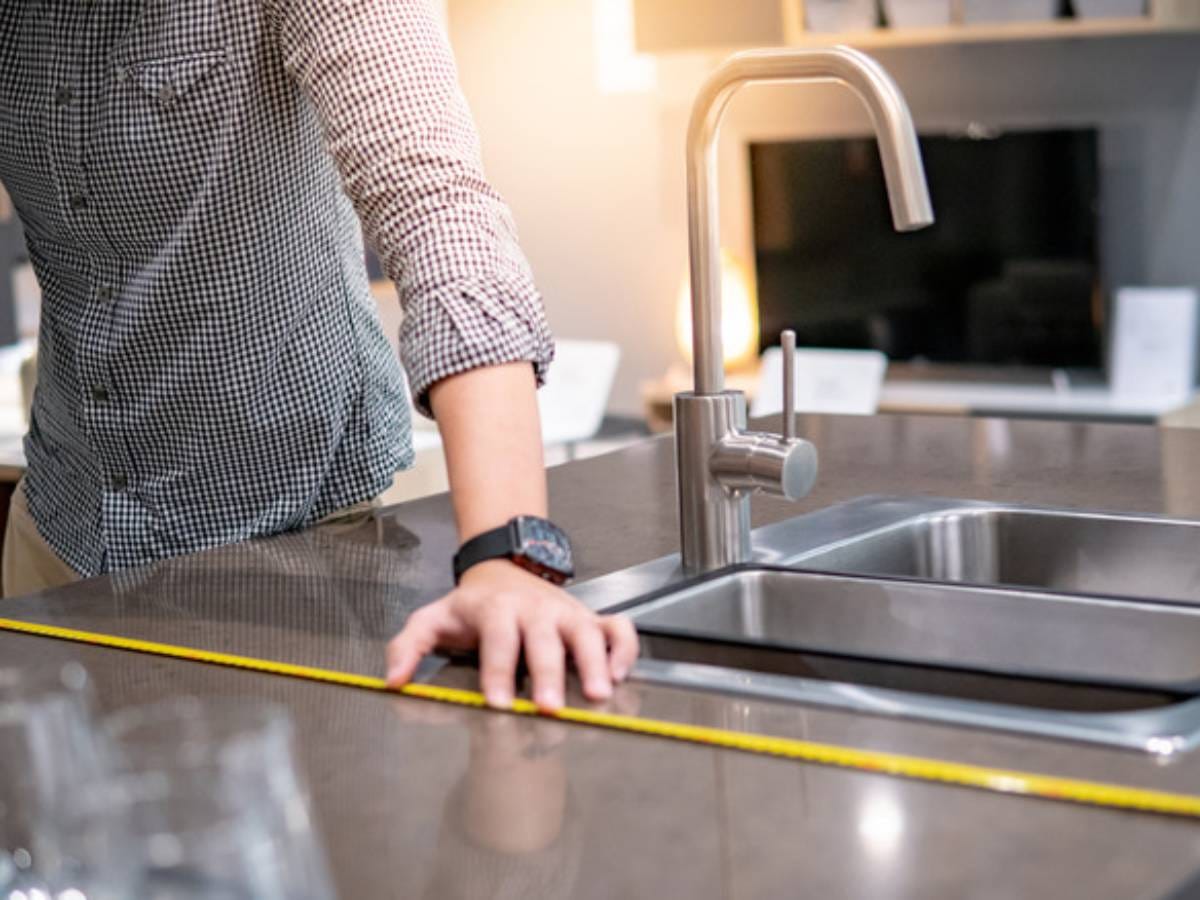
To start installing the solid surface countertops, the first and most important step is to measure the space accurately. Here are the key points to consider when measuring countertop area to achieve a perfect fit:
- Prepare Measuring Tools: Prepare a tape measure, pencil, and notepad. Remember, place these tools near for easy access while doing the work later.
- Measure Width: Measure the width of each section from the wall to the cabinet edge. Repeat at multiple points to check for wall straightness and identify any irregularities.
- Measure Depth: Measure the depth from the front edge to the wall, checking for any parts that stick out. Repeat at several points along the countertop to account for variations in wall alignment.
- Include Cutouts: Identify and measure the locations for sink or appliance cutouts. Record their dimensions and positions relative to the edges for accurate solid surface material cutting.
Step#2 Plan the Layout
After measuring the space, the next step is to meticulously plan the layout of solid surface countertops. Here are the key steps to consider when planning the countertop layout:
- Sketch Space: Draw a detailed sketch of area, including all cabinets and appliances. Identify any obstacles or needed adjustments.
- Find Seam Locations: Decide where seams will go to make them less visible and keep the countertop strong. Avoid placing seams near high-use areas like sinks and stovetops.
- Decide on Overhangs and Edges: Choose how much overhang is needed for countertops and the type of edge profile. Write all the measurements in notepad.
- Plan for Cutouts: Mark the exact spots for sinks, cooktops, and other appliances on the layout. Just think of this as the blueprint for the perfect space.
Step#3 Preparing the Installation Area
After planning the layout, the next step is to prepare the installation area properly. Here are the key points to consider when getting the space ready for installation:
- Clear the Area: Remove all unnecessary items in the area. Messy spaces cost businesses $2.5 million a year due to lost productivity, as per International Data Corporation. Nobody wants that lost, right?
- Inspect the Cabinets: Inspect that all base cabinets are level and securely attached to the wall. Check for any alignment issues.
- Open All Windows: Make sure the area is well-ventilated to allow for the safe use of adhesives and sealants. Open all windows to allow the enter of fresh air.
- Lay Protective Covers: Cover the floors and any nearby surfaces with protective materials. For example, placing drop cloths on floors and plastic sheeting on cabinets prevents scratches and debris from causing damage during installation.
Step#4 Cutting and Modifying the Countertop
Now that the area is prepared, the next step is to begin the process of cutting and modifying countertop, I guess it’s important to follow precise steps for accurate fit. Here are the practical points to consider:
- Measure Twice, Cut Once: Double-check all measurements before making any cuts to the solid surface material. Measure it perfectly in the intended space.
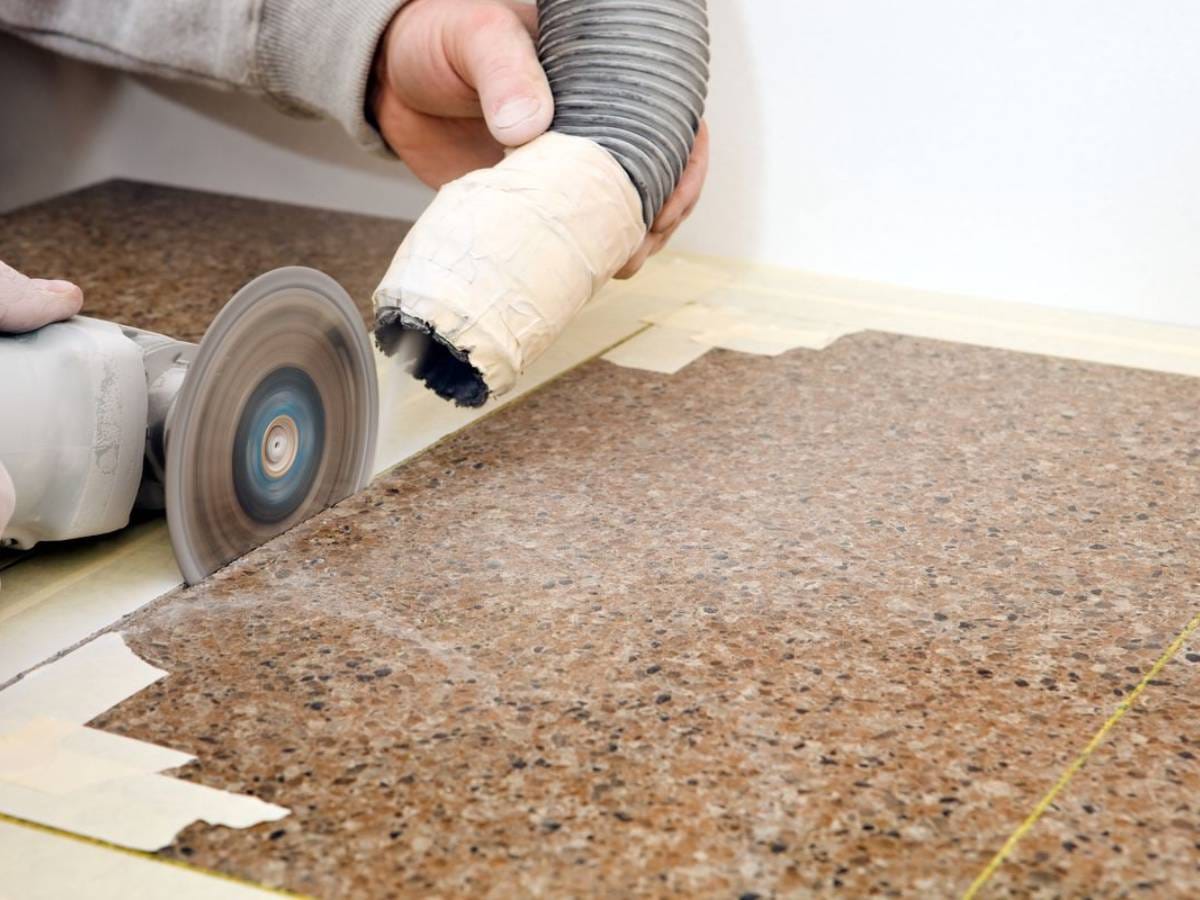
- Prepare the Right Tools: Use a fine-tooth saw or a router designed for solid surfaces to make the cuts. At KKR, we believe that using the right tools is essential to confirm that all dimensions are accurate, affecting the product’s functionality.
- Create Precise Cutouts: Cut carefully using fine-tooth saw the locations that is marked earlier for sinks, cooktops, or other fixtures.
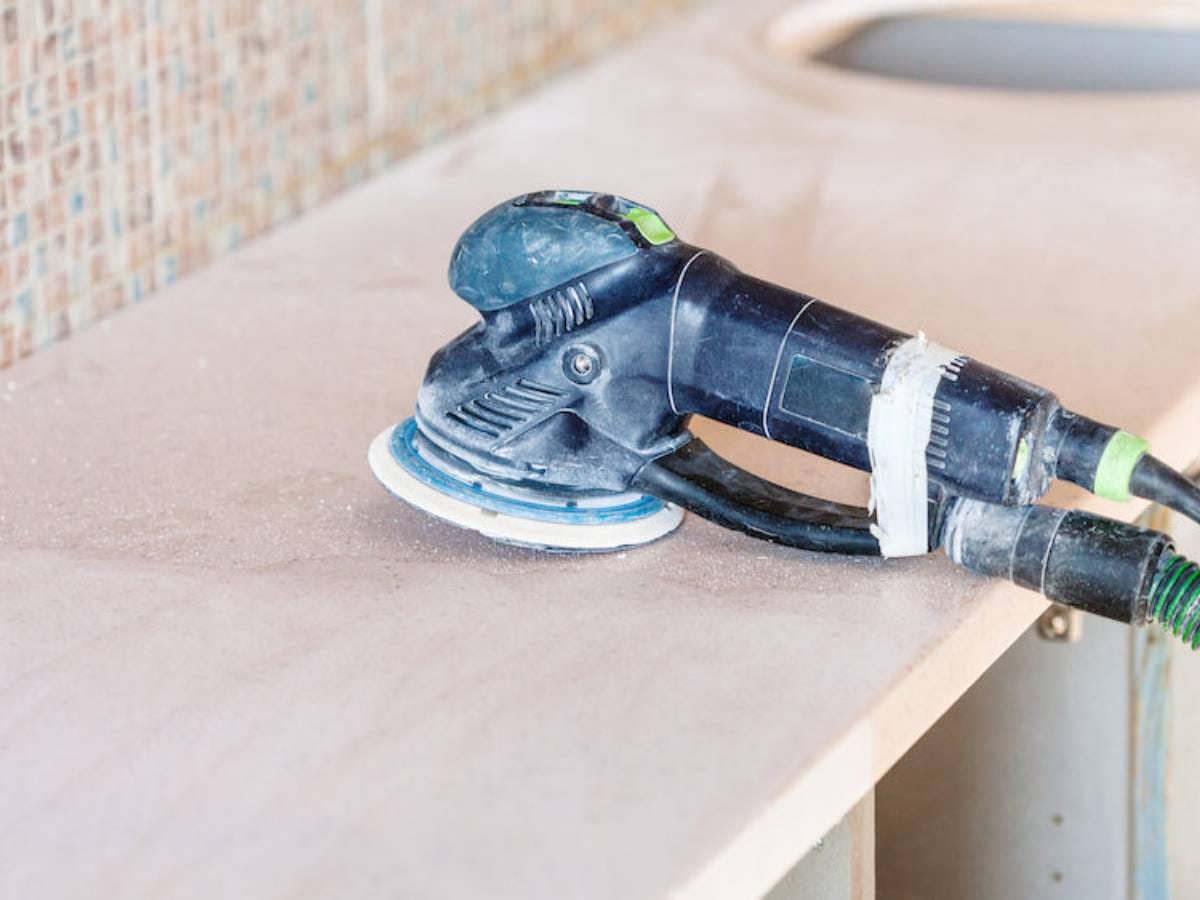
- Smooth the Edges: After cutting, sand the edges of the countertop with fine-grit sandpaper. Remove any roughness and prepares the edges for a seamless installation, enhancing the overall finish.
Step#5 Dry Fitting
After cutting and modifying the countertop, the next essential step is dry fitting to make sure everything aligns correctly before final installation. Here are the essential steps to keep in mind:
- Position the Countertop: Place the countertop pieces onto the base cabinets, fit closely against the walls and around any fixtures. I guess this step helps identify any adjustments needed for a precise fit.
- Check Seams: Align the edges where the countertop pieces meet to check for gaps or misalignment. Adjust as necessary to achieve tight seams and seamless appearance.
- Test Fit Cutouts: Test all cutouts for sinks and appliances align properly with their respective positions. Verify that fixtures fit correctly and that there are no gaps with the surrounding material.
- Mark Adjustments: Use a pencil to mark any areas that require further trimming or modification. These markings will guide the final adjustments for a perfect fit during installation.
Step#6 Installing the Countertop
Following the dry fitting, the next step is to install the countertop securely and precisely. Here are the important points to follow:
- Apply Adhesive: Use a high-quality silicone selant and apply a continuous bead along the top edges of the base cabinets.
- Position the Countertop: Carefully place the countertop onto the base cabinets, aligning it with the marks made during dry fitting. Press down gently, the adhesive spreads evenly and the countertop adheres properly.
- Get Clamp: Use clamps to hold the countertop securely in place while the adhesive cures.Plase be patient while waiting for this.
- Check for Gaps: Inspect the countertop edges and seams for any gaps or misalignment. Adjust as needed to achieve a seamless fit and the countertop is level and secure.
Step#7 Sealing and Finishing
Now that the countertop is installed, the next crucial step is to seal and finish it for long-lasting durability and a polished look. To achieve a perfect result, here are the key steps that must be followed:
- Seal the Seams: Put a line of color-matched silicone where the countertop pieces join to keep water out and hold them together.
- Smooth the Seams: Use a plastic scraper or finger to smooth the sealant along the seams for a polished look.
- Polish the Surface: Rub the entire countertop with a soft cloth and gentle polish until it shines and feels smooth.
- Inspect for Imperfections: Check the countertop for bubbles, gaps, or rough edges. And on top of that, fix any issues right away by reapplying sealant or sanding as needed for a flawless finish.
Step#8 Final Touches
After sealing and finishing, the final touches are important to ensure that the countertop is ready for use and looks its best. I am excited about this stage because it involves detailed inspection and final adjustments to guarantee both quality and functionality. Here are key practices in this vital step:
- Install Fixtures: Securely attach sinks, faucets, and other fixtures to their designated locations. Check all connections for stability and leaks for flawless and functional setup.
- Clean the Surface: Thoroughly clean the countertop with a non-abrasive cleaner and a soft cloth. Remove any dust or residue left from installation, leaving the surface sparkling and ready for use.
- Inspect Edges: Carefully inspect all edges for smoothness and consistency. Sand down any rough spots and check if the edges are safe, comfortable to touch, and aesthetically pleasing. At KKR, we believe that proper finished edges contribute to the overall quality and aesthetics of the product.
- Perform a Final Check: Conduct a comprehensive inspection of the entire countertop to identify any imperfections. For example, checking the surface for scratches or misalignments allows to immediately repair them, making sure the countertop meets the highest standards of quality.
Here is an overview of the steps involved in performing a final check on a countertop to ensure it meets the highest quality standards:
| Step | Description | Importance |
| Inspection of Surface | Examine the countertop surface for any scratches or dents. | Identifies visible flaws that need correction. |
| Alignment Check | Ensure all sections align properly without any gaps. | Prevents future structural issues. |
| Finish Consistency | Check for consistency in the finish across the surface. | Guarantees a uniform look and feel. |
| Functionality Test | Test all functional aspects, like drawers or sliders. | Confirms operational integrity. |
| Final Approval | Seek final approval from a quality inspector. | Ensures the countertop meets company standards. |
Conclusion
Learning how to install solid surface countertops is important for anyone wanting to improve their spaces. By understanding the proper techniques and tools required, everyone can guarantee a seamless and professional finish, enhancing the durability and aesthetic appeal of countertops.
We hope this blog has helped to understand how to install solid surface countertops effectively. If you are looking for a countertop that is easier to install, KKR offers a wide range of countertop products. Please contact us today!
Recommended Reading
For some insightful reads, we’ve curated a list of recommended articles just for you:
Still haven’t found what you’re looking for? Don’t hesitate to contact us. We’re available around the clock to assist you.