








Are you looking to maintain the perfect appearance of solid surface countertops for your clients? Proper polishing can enhance the shine of these surfaces, making them look brand new.
With years in the solid surface countertop industry, I know the best techniques for polishing. My expertise guarantees you get top-notch results.
Polishing solid surface countertops is a process that requires the right tools and techniques. Regular maintenance also extends the lifespan of the countertops.
In this guide, you’ll discover the step-by-step process to polish solid surface countertops. We’ll cover the tools needed, the best products to use, and detailed instructions to achieve a perfect finish.
Keep reading to learn more!
Step#1 Clean the Countertop
To begin the process of polishing your solid surface countertop, the first step is to clean it thoroughly. Here are the steps to make sure your countertop is spotless:
- Gather Cleaning Supplies: The necessary items include a soft cloth, mild dish soap, and warm water. A few drops of dish soap should be mixed with warm water in a bowl.
- Wipe Down the Countertop: The soft cloth should be dipped into the soapy water and wrung out. The entire surface of the countertop should be wiped to remove any loose dirt or grime.
- Rinse with Clean Water: After wiping with soapy water, the cloth should be rinsed with clean water. The damp cloth can then be used to wipe away any soap residue from the countertop.
- Dry the Surface: A dry, soft towel should be used to completely dry the countertop. Here’s the thing: make sure that there is no water left on the surface to prevent streaks or water spots.

Step#2 Remove Stains and Scratches
Once the countertop is clean, the next step is to address any stains and scratches. Here are the steps to effectively remove them:
- Identify the Stains and Scratches: Look closely at the countertop to find any areas that need extra attention. Common examples include coffee stains or light scratches from utensils.
Here’s a table detailing common stains and scratches found on countertops, along with suggested treatments:
| Type of Damage | Common Causes | Suggested Treatment |
| Coffee Stains | Spilled coffee | Use a paste of baking soda and water, apply gently |
| Wine Stains | Spilled wine | Apply a mixture of hydrogen peroxide and a few drops of ammonia |
| Water Marks | Glasses left on the surface | Rub gently with cloth soaked in white vinegar |
| Citrus Stains | Lemon or lime juice spills | Clean with a mild dish soap and water solution |
| Oil Stains | Cooking oil splashes | Apply a degreasing agent, then rinse with warm water |
| Light Scratches | Utensil marks | Buff out with a non-abrasive scrubbing pad |
| Heat Marks | Hot pots placed on surface | Apply a thin layer of toothpaste, then wipe after 10 minutes |
- Use a Mild Abrasive Cleaner: Apply a small amount of a mild abrasive cleaner to a soft cloth. Here’s all you have to do: rub the cleaner gently onto the stained or scratched area in a circular motion.
- Rinse the Area: After treating the stains and scratches, rinse the countertop with clean water. Make sure to remove all cleaner residue to avoid any buildup.
- Repeat if Necessary: For stubborn stains or deeper scratches, the process may need to be repeated. If a scratch is too deep, consider using fine-grit sandpaper for better results.
Step#3 Sand the Countertop
After removing stains and scratches, the next step is to sand the countertop to achieve a smooth finish. Here are the steps to properly sand the surface:
- Choose the Right Sandpaper: Start with medium-grit sandpaper, like 220-grit, for general sanding. For example, if the surface has rough patches, the 220-grit paper will help smooth them out effectively.
- Sand in Circular Motions: Gently sand the countertop using circular motions. This helps to avoid creating visible sanding lines and secures an even finish.
- Progress to Finer Grits: After the initial sanding, switch to finer grits of sandpaper, like 400-grit. As per Mordor Intelligence, the countertop market is now at $148.86 billion and continues to grow. Underscoring the increasing demand for high-quality finishes in countertop surfaces.
- Clean Up the Dust: After sanding, wipe down the countertop with a damp cloth to remove any dust. And you know what? This step is important to prepare the surface for the next stages of polishing.

Step#4 Rinse and Dry
Once sanding is complete, the countertop needs to be rinsed and dried to remove any remaining dust and debris. Here are the steps to rinse and dry the countertop:
- Prepare Clean Water: Fill a bowl or bucket with clean, warm water. This will be used to rinse off the countertop after sanding.
- Wipe Down the Surface: Dip a soft cloth into the warm water and wring it out. And on top of that, wipe the entire countertop to remove all sanding dust and residue.
- Change Water if Needed: If the water becomes too dirty during the rinsing process, replace it with fresh water. This certifies that the countertop is thoroughly cleaned.
- Dry with a Soft Towel: Use a clean, dry towel to dry the countertop completely. Make sure to remove all water to prevent any water spots or streaks from forming.
Step#5 Apply the Polish
After rinsing and drying the countertop, the next step is to apply polish to enhance its shine. Here are the steps to apply polish:
- Choose the Right Polish: Select a polish that is suitable for solid surface countertops like Weiman Granite & Stone Polish or Hope’s Perfect Countertop Polish. Make sure to read the label to confirm it’s safe for the material.
- Apply Polish: Squeeze a small amount of polish onto a soft cloth or directly onto the countertop. Why is this so? Because a little bit of polish goes a long way, so start with a small amount.
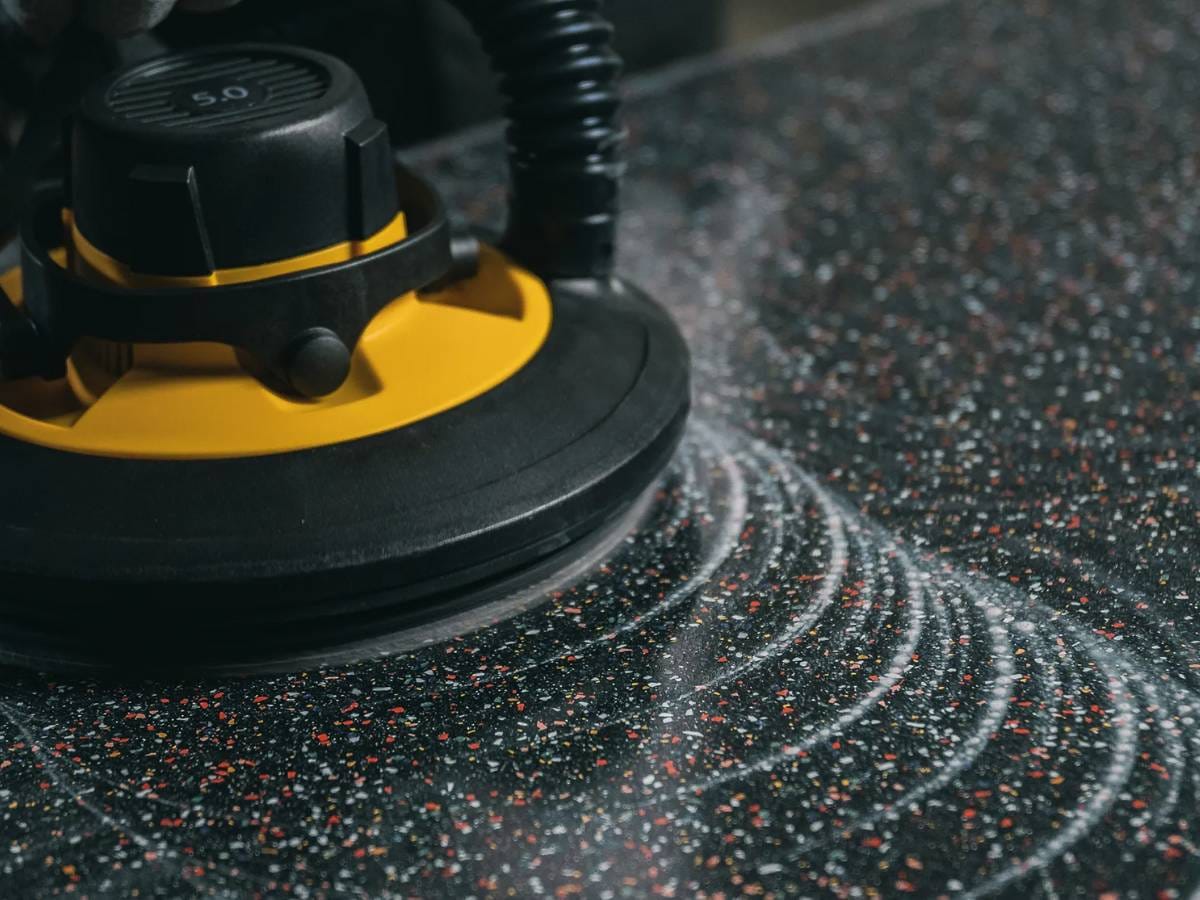
- Rub the Polish in Circular Motions: Using the soft cloth, rub the polish on the countertop in circular motions. This helps to spread the polish evenly and enhances the shine of the surface.
- Allow the Polish to Dry: Let the polish sit on the countertop for the recommended time as stated on the product label. This usually takes a few minutes and allows the polish to set properly.
Step#6 Buff the Countertop
Once the polish has dried, the next step is to buff the countertop to bring out its shine. Here are the steps to buff the countertop:
- Use a Soft Buffing Cloth: Choose a clean, soft cloth specifically for buffing. This helps to prevent any scratches on the polished surface.
- Buff in Circular Motions: Gently buff the countertop using circular motions. And the best part is that this technique offers an even shine and enhances the polished look.
- Apply Light Pressure: Use light pressure while buffing to avoid damaging the surface. Too much pressure can create unwanted marks or dull the shine.
- Check for an Even Shine: As you buff, periodically check the countertop to make sure the shine is even. For some areas that look dull, KKR buffs them a bit more to achieve a consistent finish.
Step#7 Final Wipe Down
After buffing the countertop to a brilliant shine, the final step is to do a last wipe down to remove any remaining polish residue. Here are the steps for the final wipe down:
- Use a Clean, Soft Cloth: Take a new, clean, and soft cloth to make sure no leftover polish or dust is transferred back onto the countertop. This helps maintain the freshly polished surface.
- Dampen the Cloth Slightly: Lightly dampen the cloth with clean water. It should be just moist enough to pick up any remaining residue without leaving water spots.
- Wipe the Entire Countertop: Gently wipe down the entire surface of the countertop. KKR guarantees to cover all areas, including corners and edges, to secure thorough cleaning.
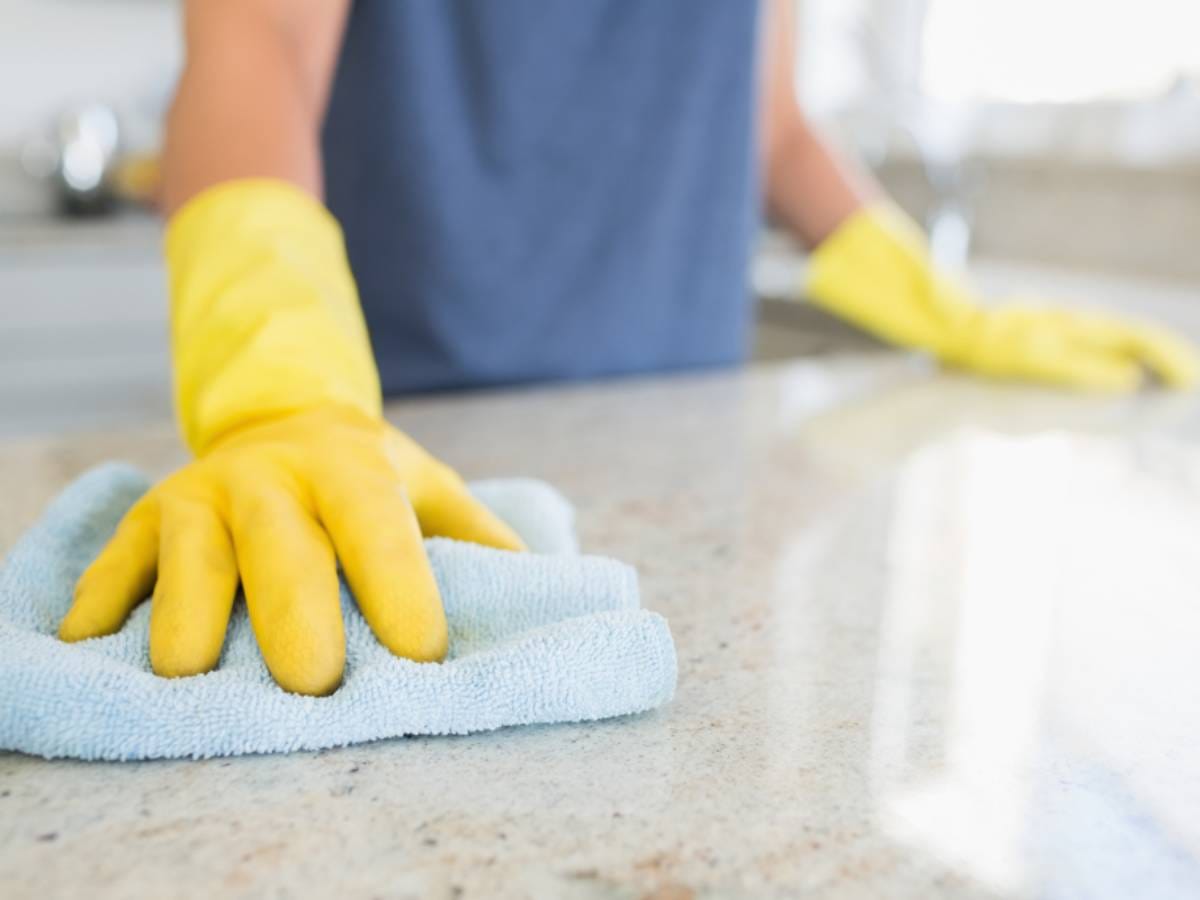
- Dry with a Separate Cloth: Use a different dry cloth to go over the countertop one last time. This final drying step allows the surface to be completely clean and ready for use. Amazing, isn’t it?
Conclusion
Polishing solid surface countertops is a process that can restore the shine and smoothness of your surfaces. By following the steps above, anyone can remove scratches and maintain the beauty of the countertops. Regular polishing helps keep the countertops looking new and extends their lifespan.
This article provides a simple guide to help you polish your solid surface countertops effectively. At KKR, we specialize in high-quality solid surface materials and offer a wide range of products to meet your needs. For more information and expert advice, contact us today.
Recommended Reading
For some insightful reads, we’ve curated a list of recommended articles just for you:
- Tips for Choosing the Right Solid Surface Material for Your Project
- How To Repair Solid Surface Countertop?
Still haven’t found what you’re looking for? Don’t hesitate to contact us. We’re available around the clock to assist you.