








Are you looking to restore scratched solid surface countertops for your clients and maintain their pristine look? Addressing scratches efficiently can enhance the longevity and appearance of these surfaces.
With years in the solid surface countertop industry, I know the best techniques for removing scratches. My advice comes from extensive hands-on experience.
Removing scratches from solid surface countertops involves a series of steps that can be easily followed. Proper maintenance allows the countertops to remain visually appealing.
In this guide, you’ll learn the step-by-step process to remove scratches from solid surface countertops. We will cover the tools needed and tips for maintaining a flawless finish.
So let’s get down to it!
Step#1 Gather Materials Needed
To begin the process of removing scratches from the solid surface countertops, having the right materials readily available is crucial for effective scratch removal. Here are the items needed and their roles:
- Microfiber Cloths: These are crucial for cleaning and drying the surface without causing additional scratches. Their soft texture guarantee that they won’t leave any marks on the countertop.
- Mild Dish Soap and Warm Water: This combination is necessary for cleaning the countertop before working on the scratches. And on the top of that, it effectively removes dirt and grime without being harsh on the surface.
- Sandpaper (Variety of Grits): Sandpaper is needed in different grits, typically ranging from 220 to 400, for sanding out the scratches. The variety starts with coarse grit and finishes with a finer one for a smoother surface.
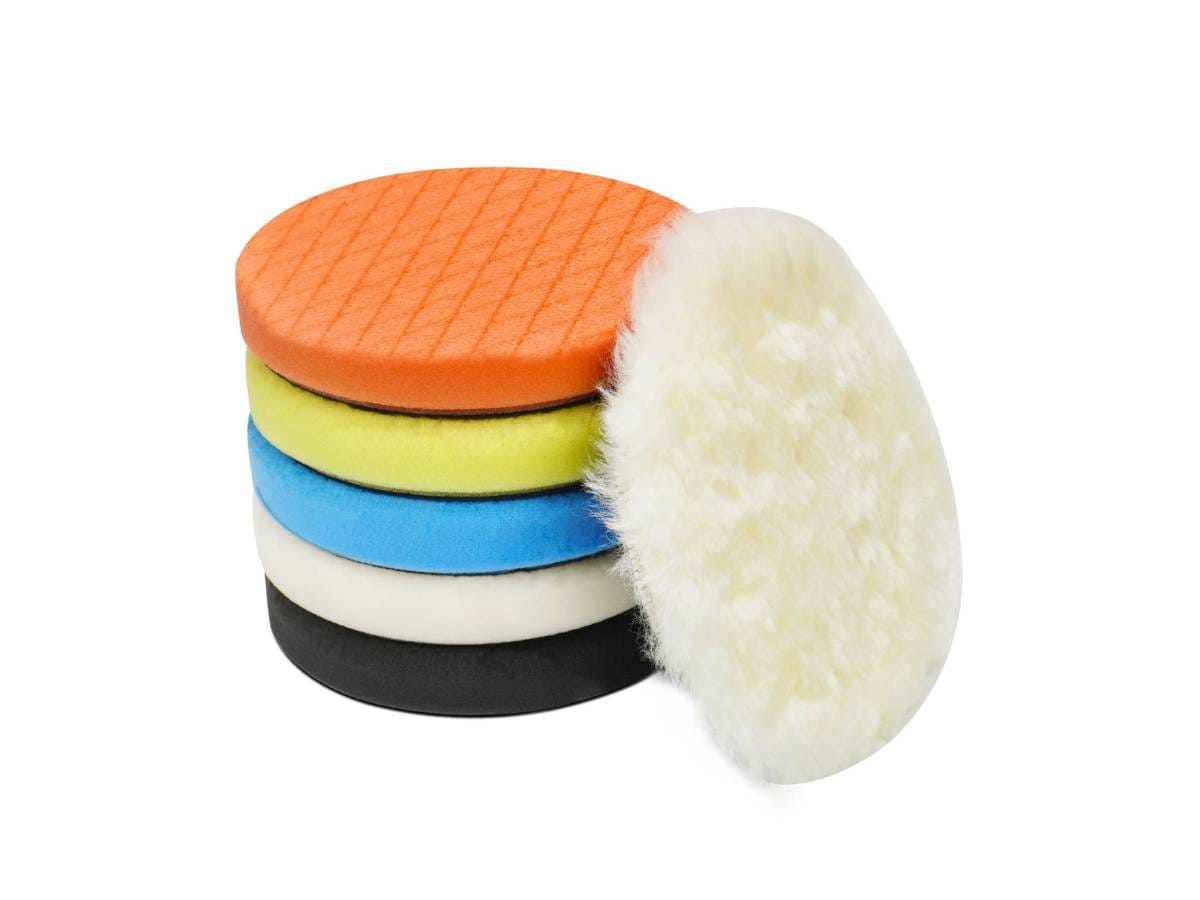
- Abrasive Pads and Polishing Compounds: These are essential for the final steps of scratch removal. Abrasive pads help in refining the sanded surface, while the polishing compound restores the countertop’s shine.
Step#2 Clean the Countertop
Now that all the necessary materials are gathered, the next step is to clean the countertop thoroughly. Here are the steps to follow for cleaning the countertop:
- Prepare a Cleaning Solution: A small amount of mild dish soap is mixed with warm water in a bucket or bowl. This solution is gentle enough for the countertop while effectively removing grime.
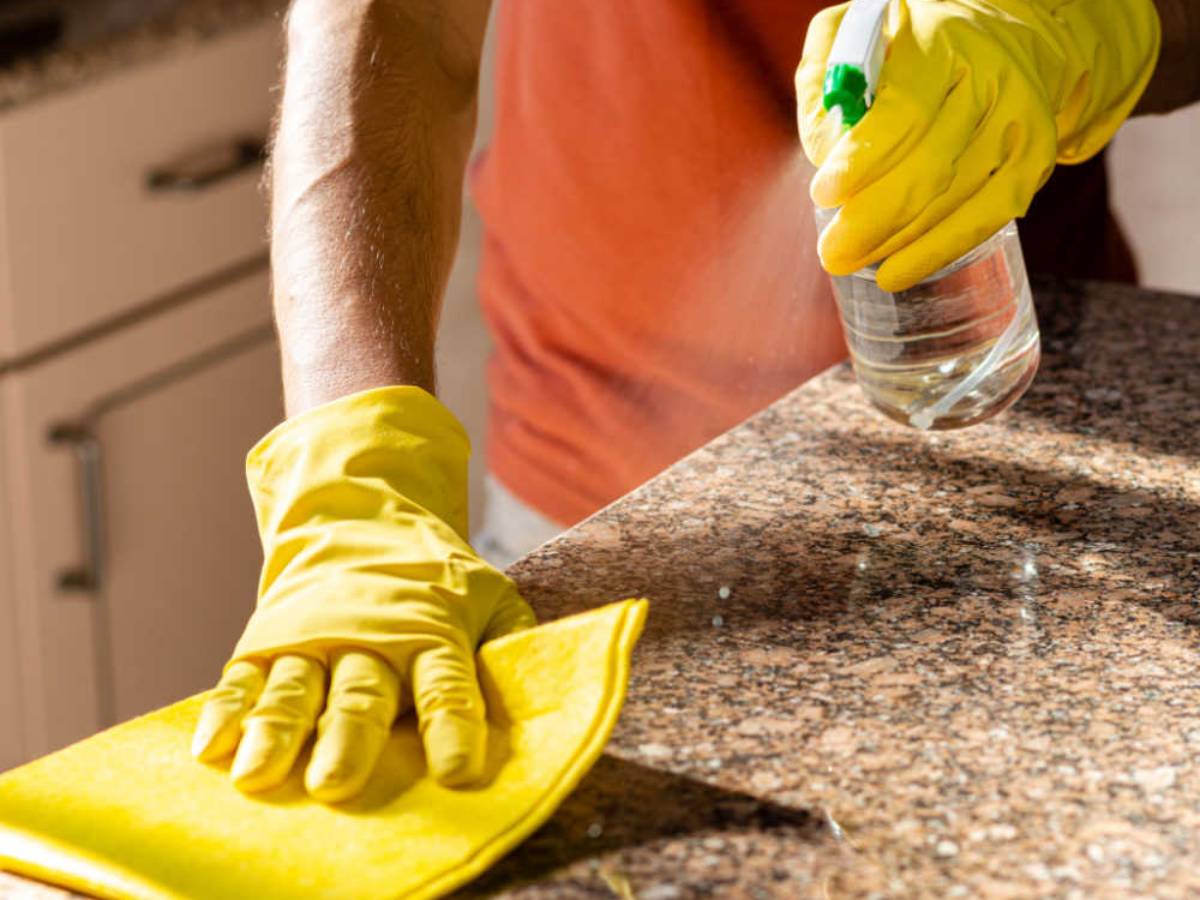
- Wipe Down the Countertop: A microfiber cloth soaked in the cleaning solution to wipe down the entire surface. Be sure to cover all areas, especially where scratches are present, to remove any dirt or residue.
- Rinse with Clean Water: After wiping with the soapy water, rinse the countertop with a clean, damp cloth to remove any soap residue. This step prevents any leftover soap from affecting the sanding or polishing process.
- Dry the Surface Completely: A dry microfiber cloth is used to thoroughly dry the countertop. Making sure the surface is completely dry helps avoid water spots and prepares it for the next steps. Amazing, isn’t it?
Step#3 Assess the Scratches
After cleaning the countertop, the next step is to assess the scratches to understand their severity and how to address them. Here are the steps to follow to assess the scratches:
- Identify the Location: Look over the entire surface of the countertop to find all the scratches. This will help in determining how much work is needed.
- Determine the Depth: Check if the scratches are light or deep. Light scratches are usually just on the surface, while deep ones may require more effort to remove.
- Feel the Surface: A finger runs gently over the scratches to feel their depth. Here’s how it works: this tactile check helps in deciding the right grit of sanding pads to use.
- Mark the Scratches: A piece of chalk or a non-permanent marker is used to outline the scratches. This makes it easier to focus on the areas that need attention during the sanding process.

Step#4 Sand the Surface
Once the scratches have been assessed, it’s time to sand the surface to remove them. Here are the steps to follow for sanding the countertop:
- Choose the Right Grit: Start with a coarse grit sanding paper, like 120-grit, for deeper scratches. Gradually move to finer grits, such as 220-grit and 320-grit, to smooth the surface.
- Sand in a Circular Motion: The sanding pad is used to gently sand the scratched area in small, circular motions. For example, if the scratch is 6 inches long, sand in overlapping circles covers the entire scratch and the surrounding area.
- Keep the Area Wet: The surface is then dampened with a spray bottle of water while sanding. And the best part is that this helps to prevent dust and keeps the sanding pad from clogging.
- Check Progress Frequently: Occasionally stop and wipe away the sanding residue with a damp cloth and check the progress. This will allow the scratches to be removed evenly and prevent over-sanding one area.
Step#5 Use Abrasive Pads
After sanding the surface, the next step is to use abrasive pads to further smooth and refine the countertop. Here are the steps to follow for using abrasive pads:
- Select the Appropriate Pad: Start with a medium-grit abrasive pad, such as a 180-grit or 240-grit pad, to continue smoothing the surface. Move to a fine-grit pad, like 320-grit for a more polished finish.
- Use Even Pressure: Even pressure is applied while rubbing the pad over the scratched area. This guarantees that the surface is smoothed out uniformly.
- Follow the Countertop’s Shape: The pad moves along the natural lines and curves of the countertop. For example, if the countertop has rounded edges, gently sand along these edges to maintain their shape.
- Rinse and Repeat: After using each pad, rinse the countertop with water to remove any residue. But you know what else? Repeat the process with finer pads until the surface feels smooth and even.

Step#6 Apply Polishing Compound
After smoothing the surface with abrasive pads, the next step is to apply a polishing compound to restore the countertop’s shine. Here are the steps to follow for applying the polishing compound:
- Choose the Polishing Compound: A polishing compound designed for the solid surface countertops is selected. Options are Gel-Gloss and Countertop Magic, which are safe and effective for any countertop material.
- Apply a Small Amount: A small amount of polishing compound is put on a soft cloth or a polishing pad. A little goes a long way, so it’s important to start with a dime-sized amount.
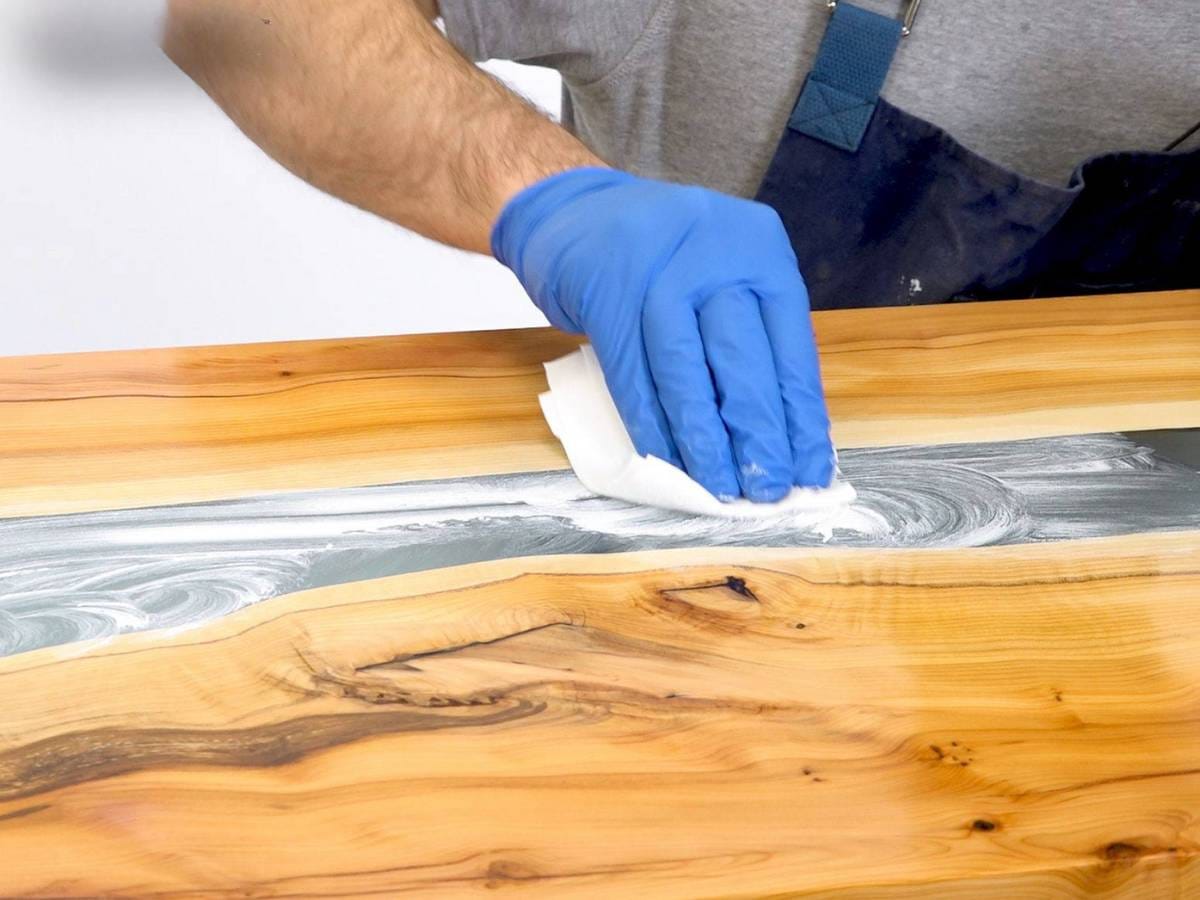
- Rub in Circular Motions: The polishing compound is gently rubbed onto the countertop in circular motions. This helps to evenly distribute the compound and brings out the countertop’s shine.
- Buff the Surface: A clean, dry cloth is used to buff the countertop until it shines. Continue buffing until all the polishing compound is absorbed and the surface looks glossy. It’s easy, isn’t it?
Step#7 Clean and Inspect
After applying the polishing compound, it’s important to clean and inspect the countertop to ensure it’s restored to its best condition. Here are the steps to follow for cleaning and inspecting the countertop:
- Remove Residue: A clean, microfiber cloth is used to wipe away any remaining polishing compound residue. This will help reveal the true condition of the countertop surface.
- Dry the Surface: After wiping away the residue, a dry cloth is then used to thoroughly dry the countertop. This guarantees that no water spots or streaks are left behind.
- Inspect for Scratches: KKR carefully inspects the entire countertop for any remaining scratches. Take this note: if any scratches are found, repeat the sanding and polishing steps as needed.
- Check the Shine: Look at the countertop from different angles to see if it has a glossy finish. This final inspection certifies that the polishing process was successful and the countertop looks its best.
Step#8 Final Clean and Inspection
With the initial cleaning and inspection complete, the final step is to give the countertop one last clean and a thorough inspection. Here are the steps to follow for the final cleaning and inspection:
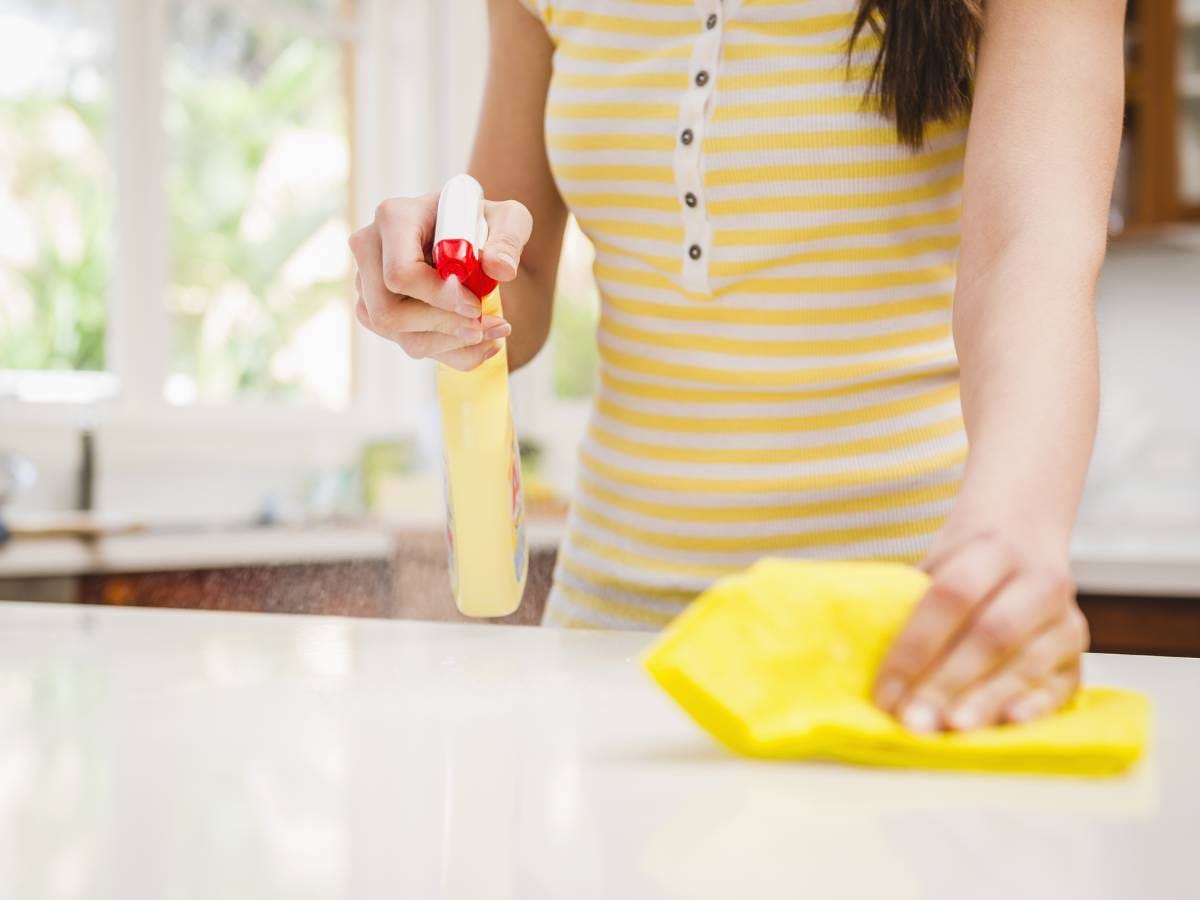
- Use a Gentle Cleaner: A gentle cleaner suitable for solid surface countertops is applied to a soft cloth. The result? This will remove any remaining dust or residue from the previous steps.
- Wipe the Entire Surface: KKR thoroughly wipes down the entire countertop, making sure to reach all corners and edges. This certifies that the surface is spotless and ready for use.
- Inspect Under Good Lighting: The countertop is checked under good lighting to make sure there are no missed spots or imperfections. Good lighting helps to reveal any issues that might not be visible in dimmer light.
- Feel for Smoothness: A hand overruns the countertop to feel for smoothness and evenness. As per Fortune Business Insights, the countertop market is projected to exhibit a CAGR of 4.0% during the forecast period. Highlighting that this tactile confirms that the countertop has a consistent finish.
The table below illustrates key aspects of the countertop market, focusing on the importance of smoothness and evenness as critical factors for consumer satisfaction. It also includes projected growth data:
| Feature | Description | Market Impact |
| Smoothness | The surface must be smooth to the touch, indicating a high-quality finish. | Essential for consumer approval and market preference. |
| Evenness | Uniformity in the countertop’s surface, without dips or bumps. | Indicates superior manufacturing quality. |
| Market Growth | Projected CAGR of 4.0% during the forecast period, as per Fortune Business Insights | Reflects increasing demand and potential for market expansion. |
Conclusion
Removing scratches from solid surface countertops is a process that can extend the life and appearance of the surfaces. By following the proper steps, it is easy to restore the countertop’s smooth finish and keep it looking as good as new. Regular maintenance and prompt scratch removal will keep the countertops looking their best.
This article provides practical guidance on maintaining the countertops and making sure they remain in excellent shape. At KKR, we specialize in producing high-quality solid surface countertops that are durable and easy to maintain. To learn more about our products and services, don’t hesitate to contact us.
Recommended Reading
For some insightful reads, we’ve curated a list of recommended articles just for you:
- Tips for Choosing the Right Solid Surface Material for Your Project
- How To Repair Solid Surface Countertop?
Still haven’t found what you’re looking for? Don’t hesitate to contact us. We’re available around the clock to assist you.